InfluxDB is an easy way to store your rain sensor telemetry on a database via esp32. Influx can be hosted on your own computer or on the cloud. However, influxDB needs a dedicated server on to save telemetry for your device(s).
Docker
In this example a docker container with influx is used. Docker has requirements which usually are covered by modern processors:
- 64-bit processor with Second Level Address Translation (SLAT)
- 4GB system RAM
- BIOS-level hardware virtualization support must be enabled in the BIOS settings. For more information, see Virtualization.
Please install Docker and WSL 2, which can be installed with a powershell command:
wsl --installIf any step in docker building is confusing please refer to docker install guide.
Installation
In a terminal run:
docker run --name influxdb -p 8086:8086 influxdb:2.1.1
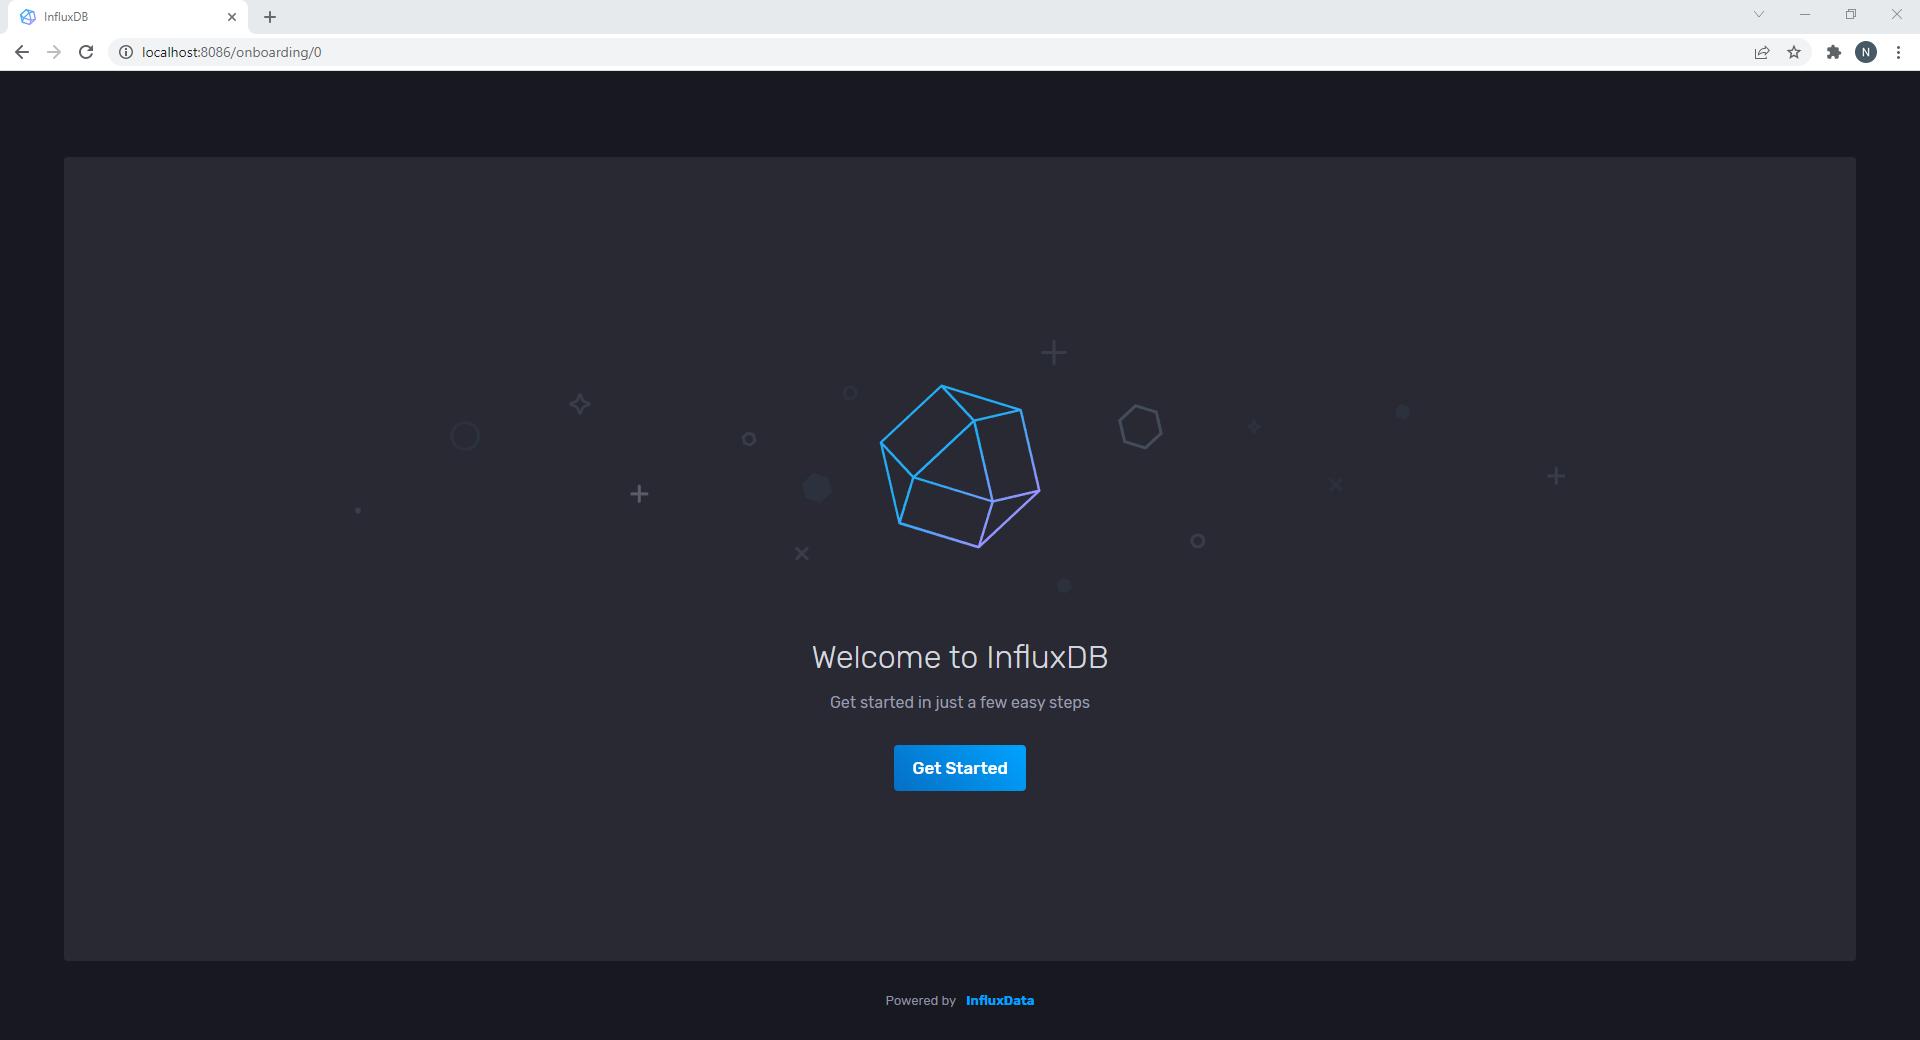
Open up your preferred web browser and go to localhost:8086. You should now see a screen like this:
Download the file board.json
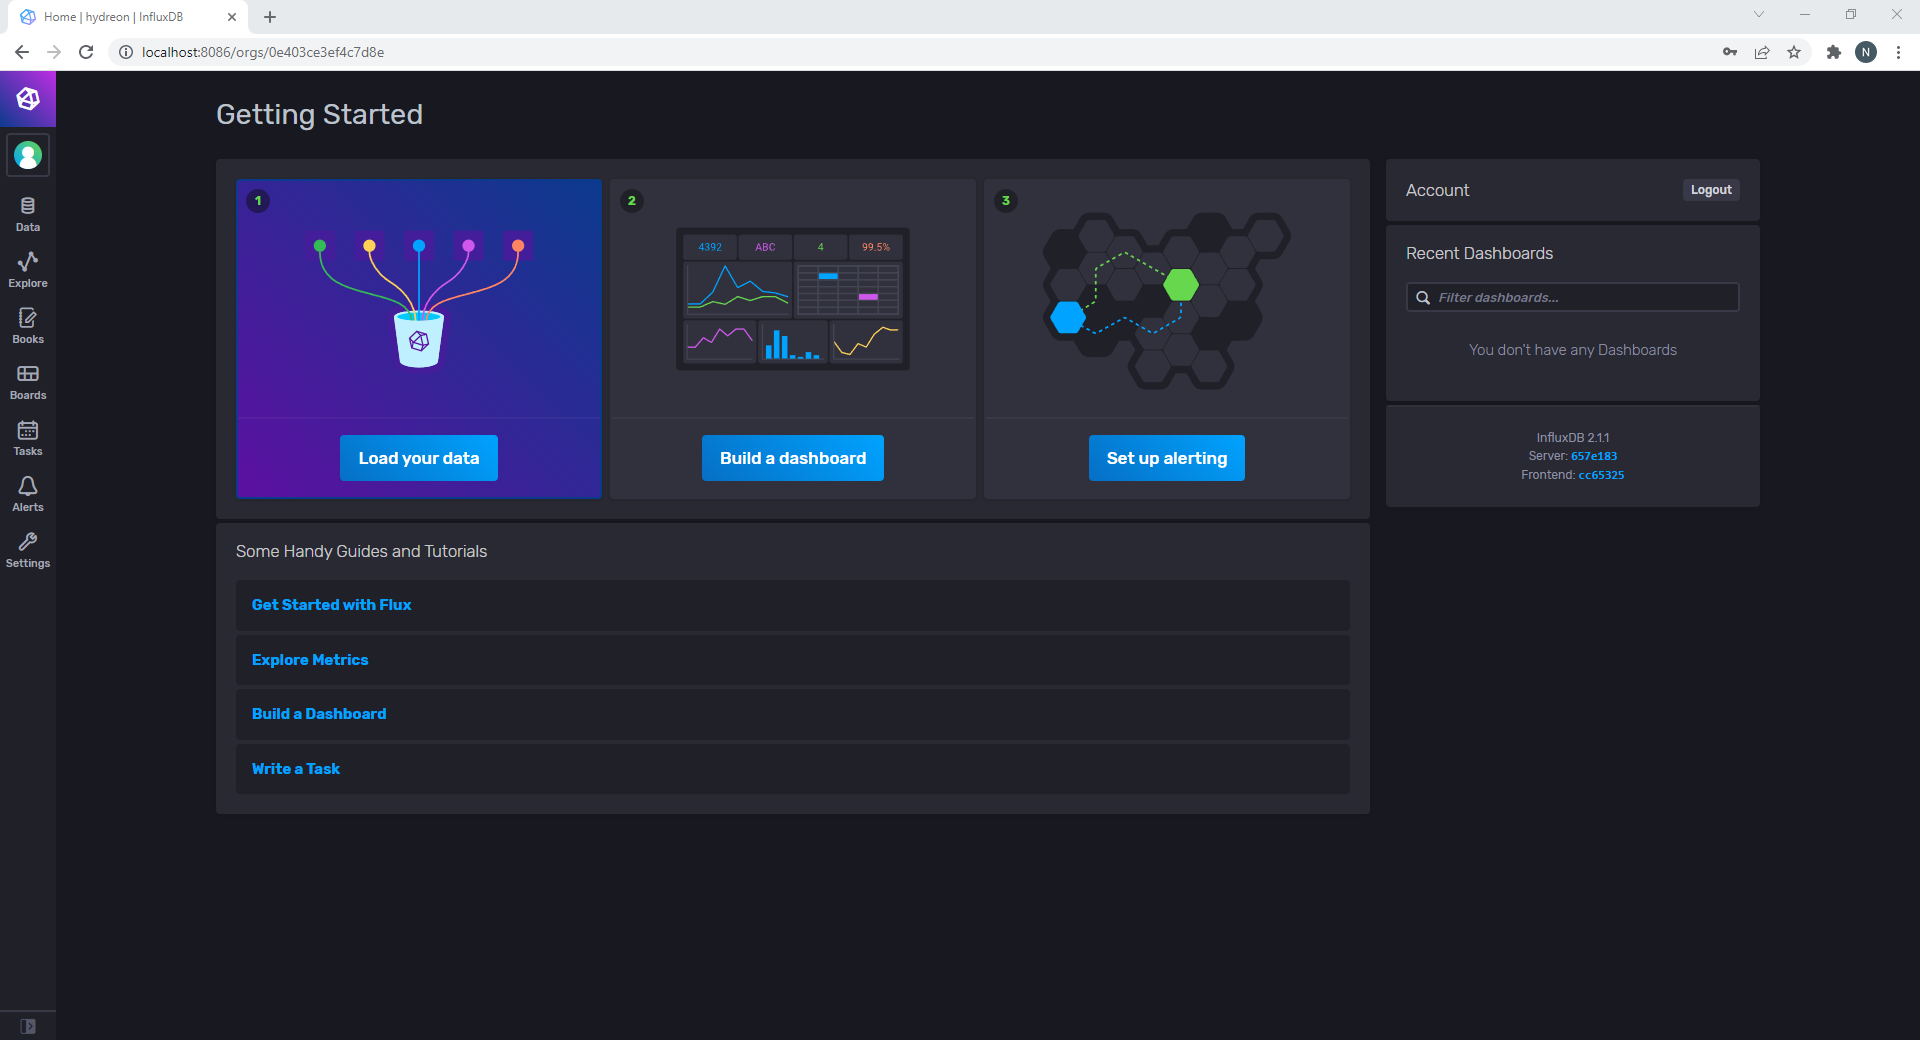
Select the “Boards” tab on the sidebar. create a new dashboard and select “import dashboard” selecting the file just downloaded.
Before Heading to the Arduino step we also need a key for the arduino and databases to communicate. In the sidebar select “Data” and then select the tab “API Tokens”. Click “Generate API Token” and specify it as “Read/Write API Token”
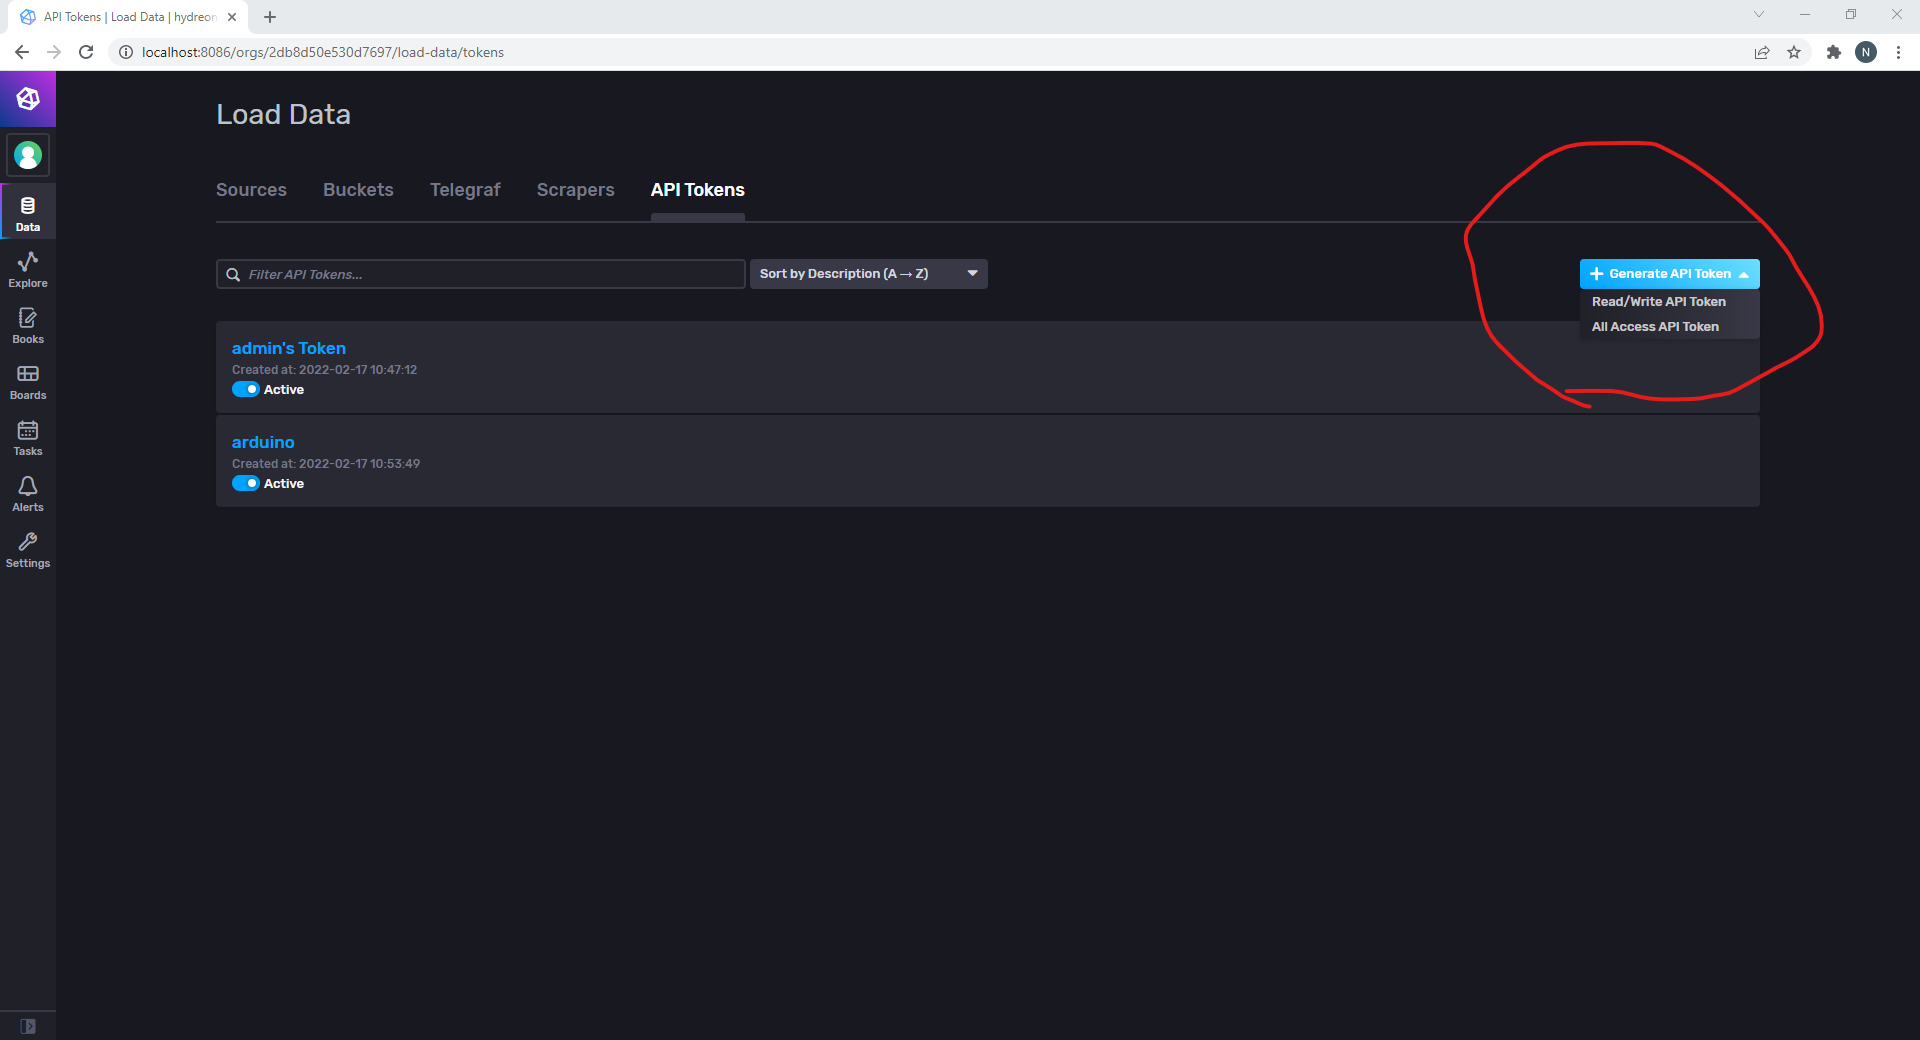
Copy the given key for the next step.
Arduino

Here is the code needed for the arduino to connect to the database:
#if defined(ESP32)
#include <WiFiMulti.h>
WiFiMulti wifiMulti;
#define DEVICE "ESP32"
#elif defined(ESP8266)
#include <ESP8266WiFiMulti.h>
ESP8266WiFiMulti wifiMulti;
#define DEVICE "ESP8266"
#endif

#include <InfluxDbClient.h>
#include <InfluxDbCloud.h>
// WiFi AP SSID
#define WIFI_SSID "WIFI NAME HERE"
// WiFi password
#define WIFI_PASSWORD "WIFI PASSWORD HERE"
// InfluxDB v2 server url, e.g. https://eu-central-1-1.aws.cloud2.influxdata.com (Use: InfluxDB UI -> Load Data -> Client Libraries)
#define INFLUXDB_URL "http://10.0.1.196:8086"
// InfluxDB v2 server or cloud API token (Use: InfluxDB UI -> Data -> API Tokens -> <select token>)
#define INFLUXDB_TOKEN "INFLIX API TOKEN HERE"
// InfluxDB v2 organization id (Use: InfluxDB UI -> User -> About -> Common Ids )
#define INFLUXDB_ORG "ORGANISATION ID HERE"
// InfluxDB v2 bucket name (Use: InfluxDB UI ->  Data -> Buckets)
#define INFLUXDB_BUCKET "DATA BUCKET NAME HERE"

// Set timezone string according to https://www.gnu.org/software/libc/manual/html_node/TZ-Variable.html
// Examples:
//  Pacific Time: "PST8PDT"
//  Eastern: "EST5EDT"
//  Japanesse: "JST-9"
//  Central Europe: "CET-1CEST,M3.5.0,M10.5.0/3"
#define TZ_INFO "America/Chicago"

#include <SoftwareSerial.h>

// InfluxDB client instance with preconfigured InfluxCloud certificate
InfluxDBClient client(INFLUXDB_URL, INFLUXDB_ORG, INFLUXDB_BUCKET, INFLUXDB_TOKEN, InfluxDbCloud2CACert);

#define MYPORT_TX 12
#define MYPORT_RX 13
SoftwareSerial serial;
// Data point
Point sensor("data");
Point frd("frd");

void setup() {
  Serial.begin(115200);
  serial.begin(9600, SWSERIAL_8N1, MYPORT_RX, MYPORT_TX, false);
  // Setup wifi
  WiFi.mode(WIFI_STA);
  wifiMulti.addAP(WIFI_SSID, WIFI_PASSWORD);

  Serial.print("Connecting to wifi");
  while (wifiMulti.run() != WL_CONNECTED) {
    Serial.print(".");
    delay(1000);
  }
  Serial.println();

  // Add tags
  sensor.addTag("device", DEVICE);
  sensor.addTag("SSID", WiFi.SSID());

  // Accurate time is necessary for certificate validation and writing in batches
  // For the fastest time sync find NTP servers in your area: https://www.pool.ntp.org/zone/
  // Syncing progress and the time will be printed to Serial.
  timeSync(TZ_INFO, "pool.ntp.org", "time.nis.gov");

  // Check server connection
  if (client.validateConnection()) {
    Serial.print("Connected to InfluxDB: ");
    Serial.println(client.getServerUrl());
  } else {
    Serial.print("InfluxDB connection failed: ");
    Serial.println(client.getLastErrorMessage());
  }
}


void loop() {
  // Clear fields for reusing the point. Tags will remain untouched
  String response = serial.readStringUntil('\n');
  if (response.startsWith("FRD")) {
    frd.clearFields();
    char frda[5], frdb[5];
    sscanf (response.c_str(), "%*s %s %s", &frda, &frdb);
    frd.addField("FRDA", atoi(frda));
    frd.addField("FRDB", atoi(frdb));
    if (!client.writePoint(frd)) {
      Serial.print("InfluxDB write failed: ");
      Serial.println(client.getLastErrorMessage());
    }
  }
  else if (response.startsWith("Acc")) {
    sensor.clearFields();

    // Store measured value into point
    // Report RSSI of currently connected network

    char acc[7], eventAcc[7], totalAcc[7], rInt[7], unit[4];
    sscanf (response.c_str(), "%*s %s %[^,] , %*s %s %*s %*s %s %*s %*s %s", &acc, &unit, &eventAcc, &totalAcc, &rInt);

    sensor.addField("Accumulation", atof(acc));
    sensor.addField("EventAccumulation", atof(eventAcc));
    sensor.addField("TotalAccumulation", atof(totalAcc));
    sensor.addField("Intensity", atof(rInt));

    // Print what are we exactly writing
    Serial.print("Writing: ");
    Serial.println(sensor.toLineProtocol());

    // Check WiFi connection and reconnect if needed
    if (wifiMulti.run() != WL_CONNECTED) {
      Serial.println("Wifi connection lost");
    }

    // Write point
    if (!client.writePoint(sensor)) {
      Serial.print("InfluxDB write failed: ");
      Serial.println(client.getLastErrorMessage());
    }
  }

}
Make sure to change six important lines in this code:
- #define WIFI_SSID “WIFI NAME HERE”
- #define WIFI_PASSWORD “WIFI PASSWORD HERE”
- #define INFLUXDB_TOKEN “INFLUX API TOKEN HERE”
- #define INFLUXDB_ORG “ORGANISATION ID HERE”
- #define INFLUXDB_BUCKET “DATA BUCKET NAME HERE”
- #define TZ_INFO “America/Chicago”
Conclusion
You should now be able to see telemetry from the device (if it is active) on the dashboard “board” in Boards tab.