There are several options for mounting RG series rain sensors. Depending on the physical constraints mounting may be on the roof, against a wall, or antenna mast oriented vertical or horizontal. The sensor should be in a shade-free area with preferably no light reflections impinging on the lens surface.
In all cases, make sure that the RG is properly reassembled!
In all cases, make sure that the RG is properly reassembled!
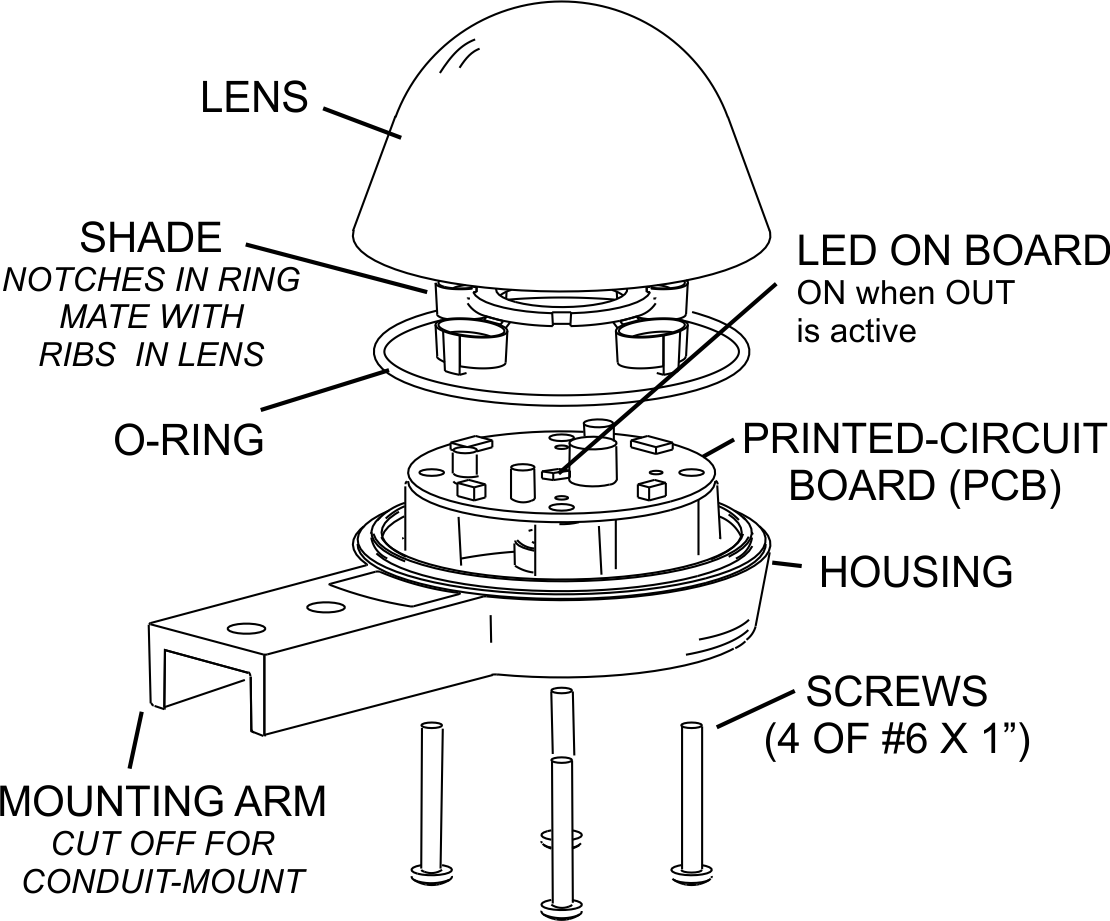
The silica gel pack is placed between the housing and board, the shade is placed on the board, the O-ring is properly placed in the lens groove and the lens is properly mated to the matching surface on the housing. Once aligned, the 4 stainless steel screws are tightened in place. This will ensure that moisture is kept at bay from the inside of the sensor.
General Guidelines
Position the RG Sensor so it is not shaded by overhead structures that would inhibit precipitation on the lens or to be shaded during the day as the sun progresses across the sky. This can best be achieved with a South facing location in the North Hemisphere, opposite for the South Hemisphere. If on an antenna mast or an instrument assembly, the preferred orientation is closest to the sun. It should not be exposed to rapidly varying light levels- specifically, avoid conditions where an anemometer can cast shadows on the lens.
Align the housing so the mounting bracket (or base of the unit) is horizontal.

While Cable Ties and Hose Clamps can be used to attach the RG housing mount to a mounting pole, it may be difficult to tighten them adequately. This can cause the unit to rotate and that may affect the performance of the sensor. A preferred method of attachment is to use stainless steel bolts and nuts, drilling through the mounting pole as required.
Aerial Mounts
Vertical Mount
The RG housing can be modified for this mounting scheme in order to make a more esthetically pleasing assembly.
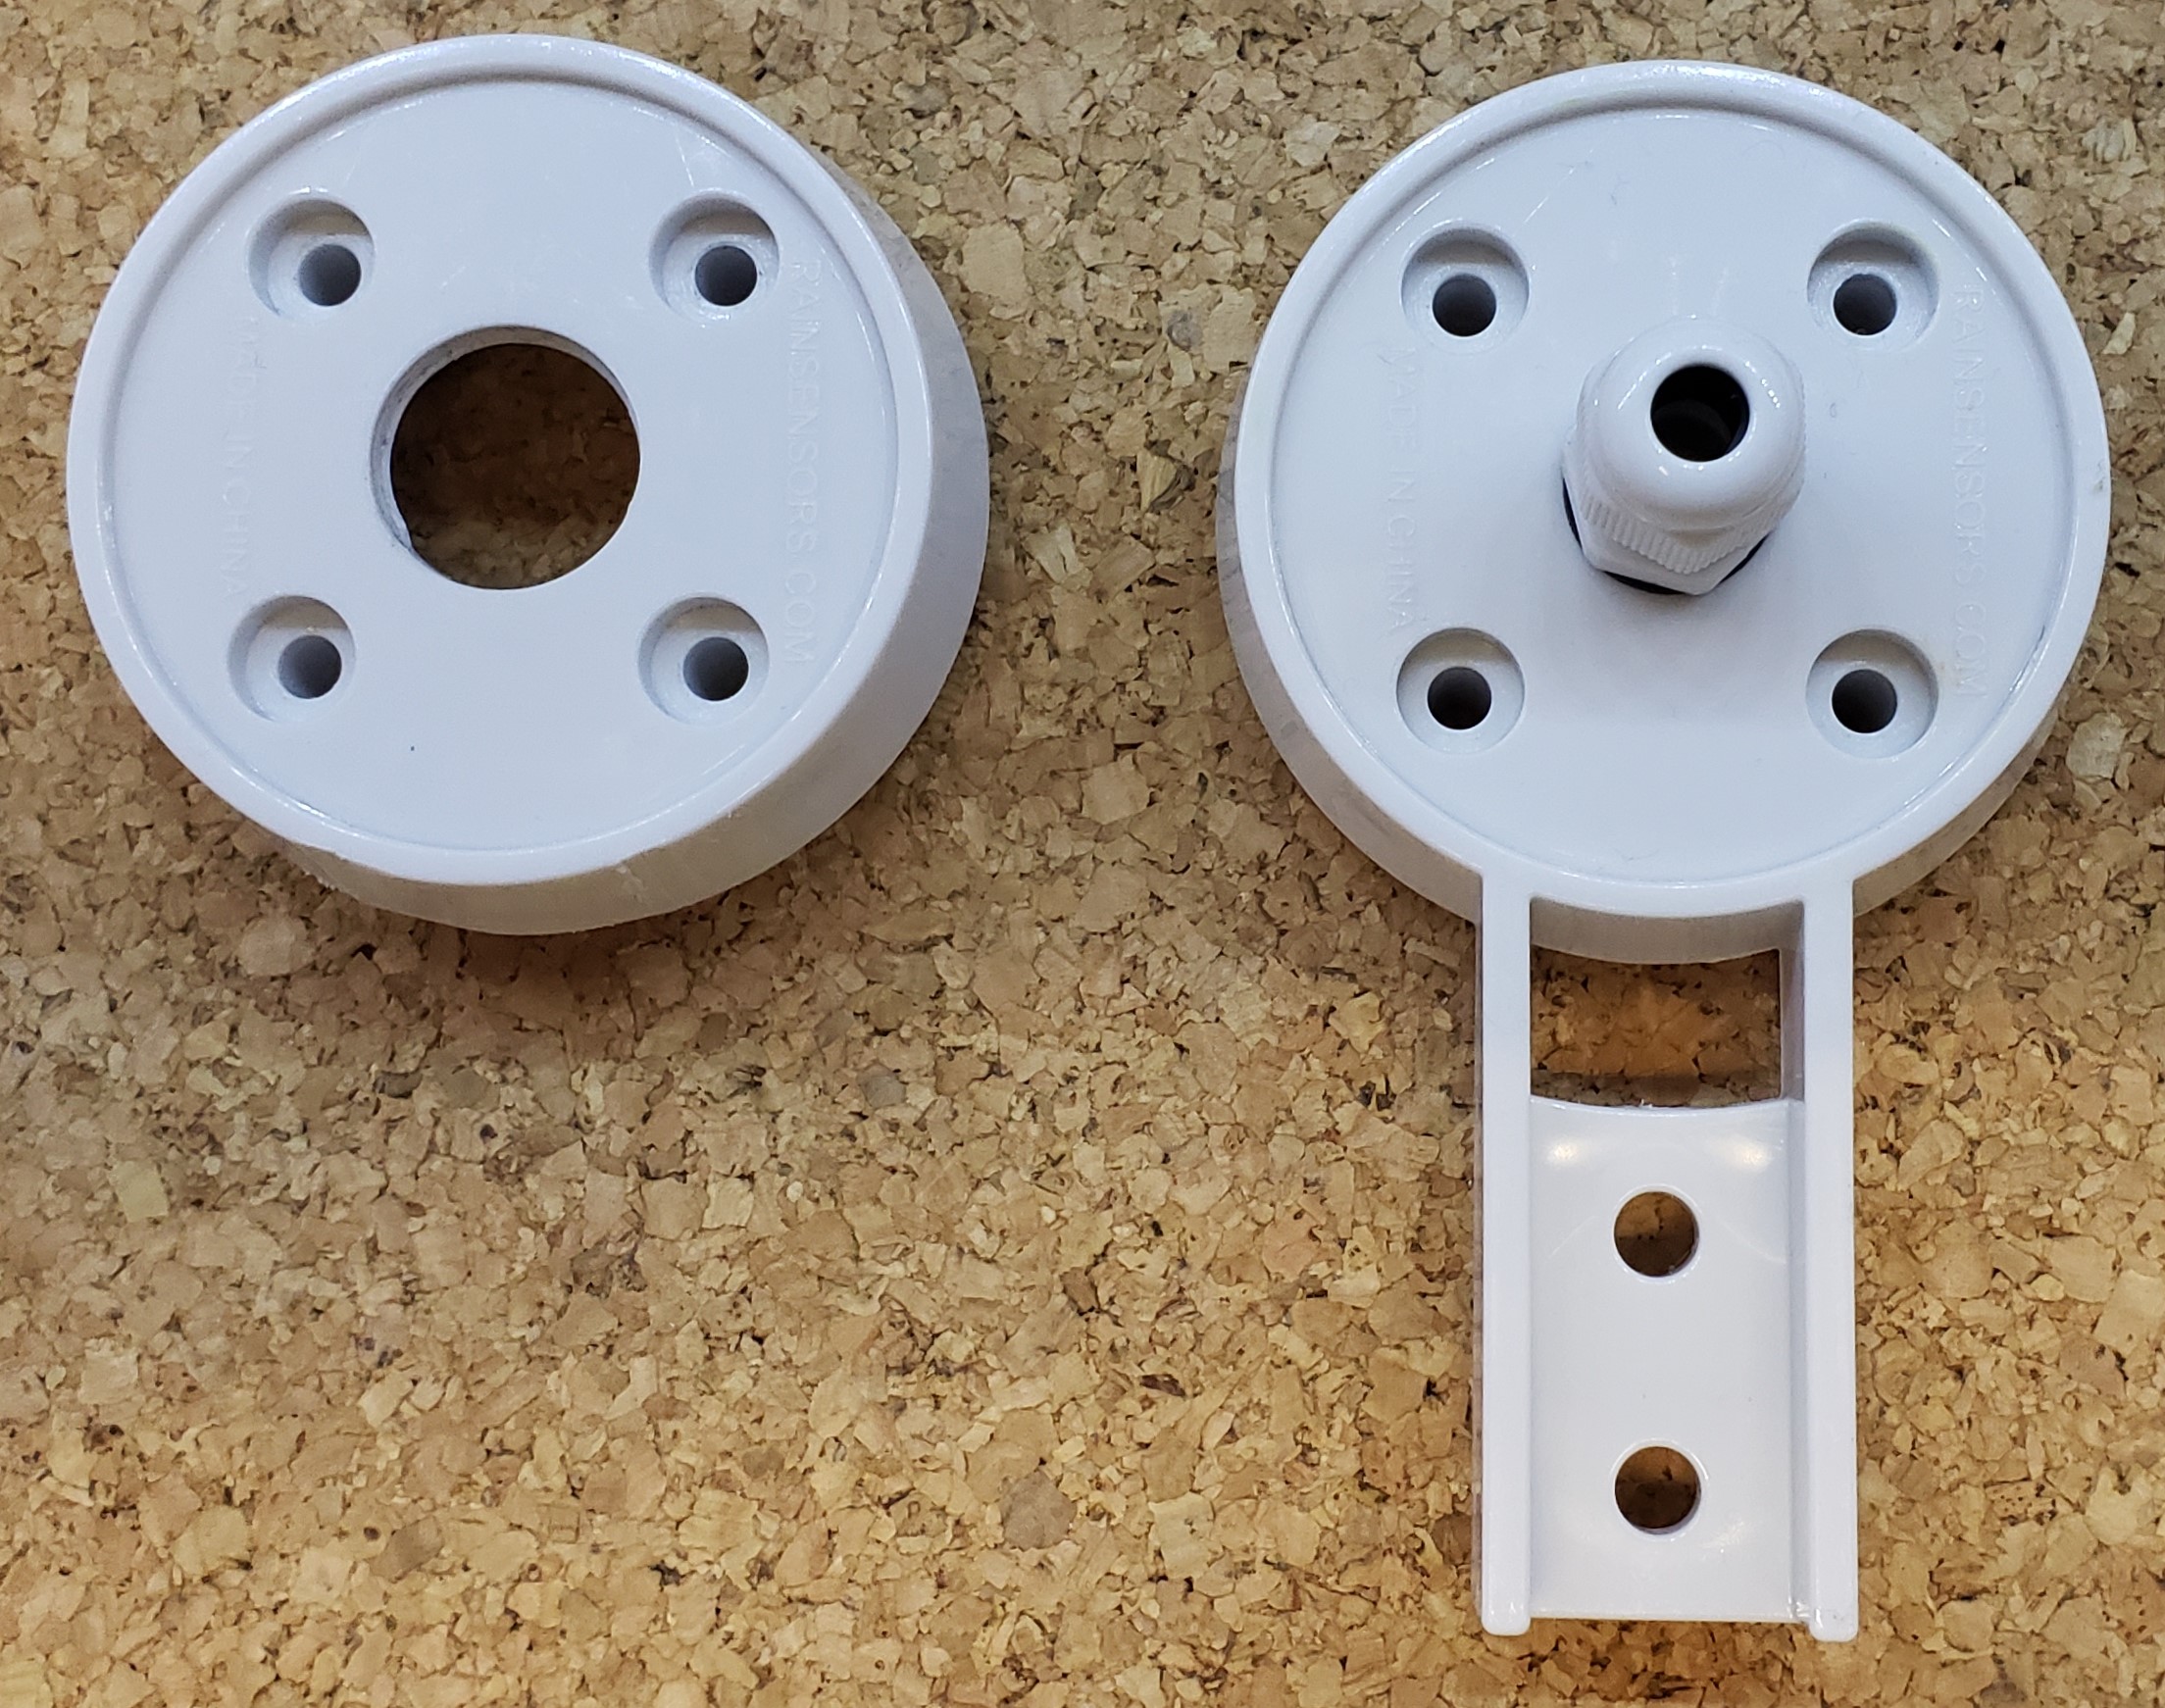
The side supports can be removed by carefully cutting them at the base of the housing with a hack saw (and yes, we have replacement housings if you oops).
Suggested equipment:
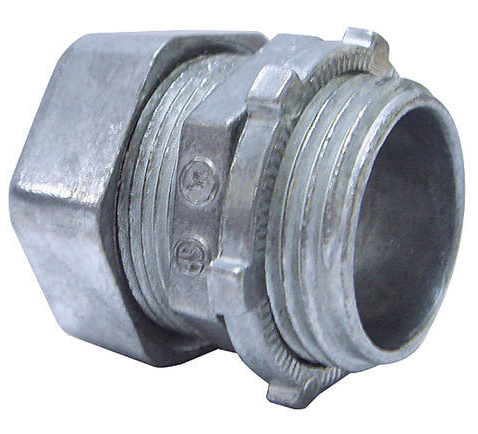
1/2″ EMT compression connector
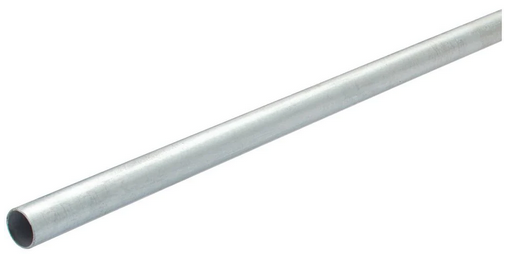
1/2″ EMT conduit
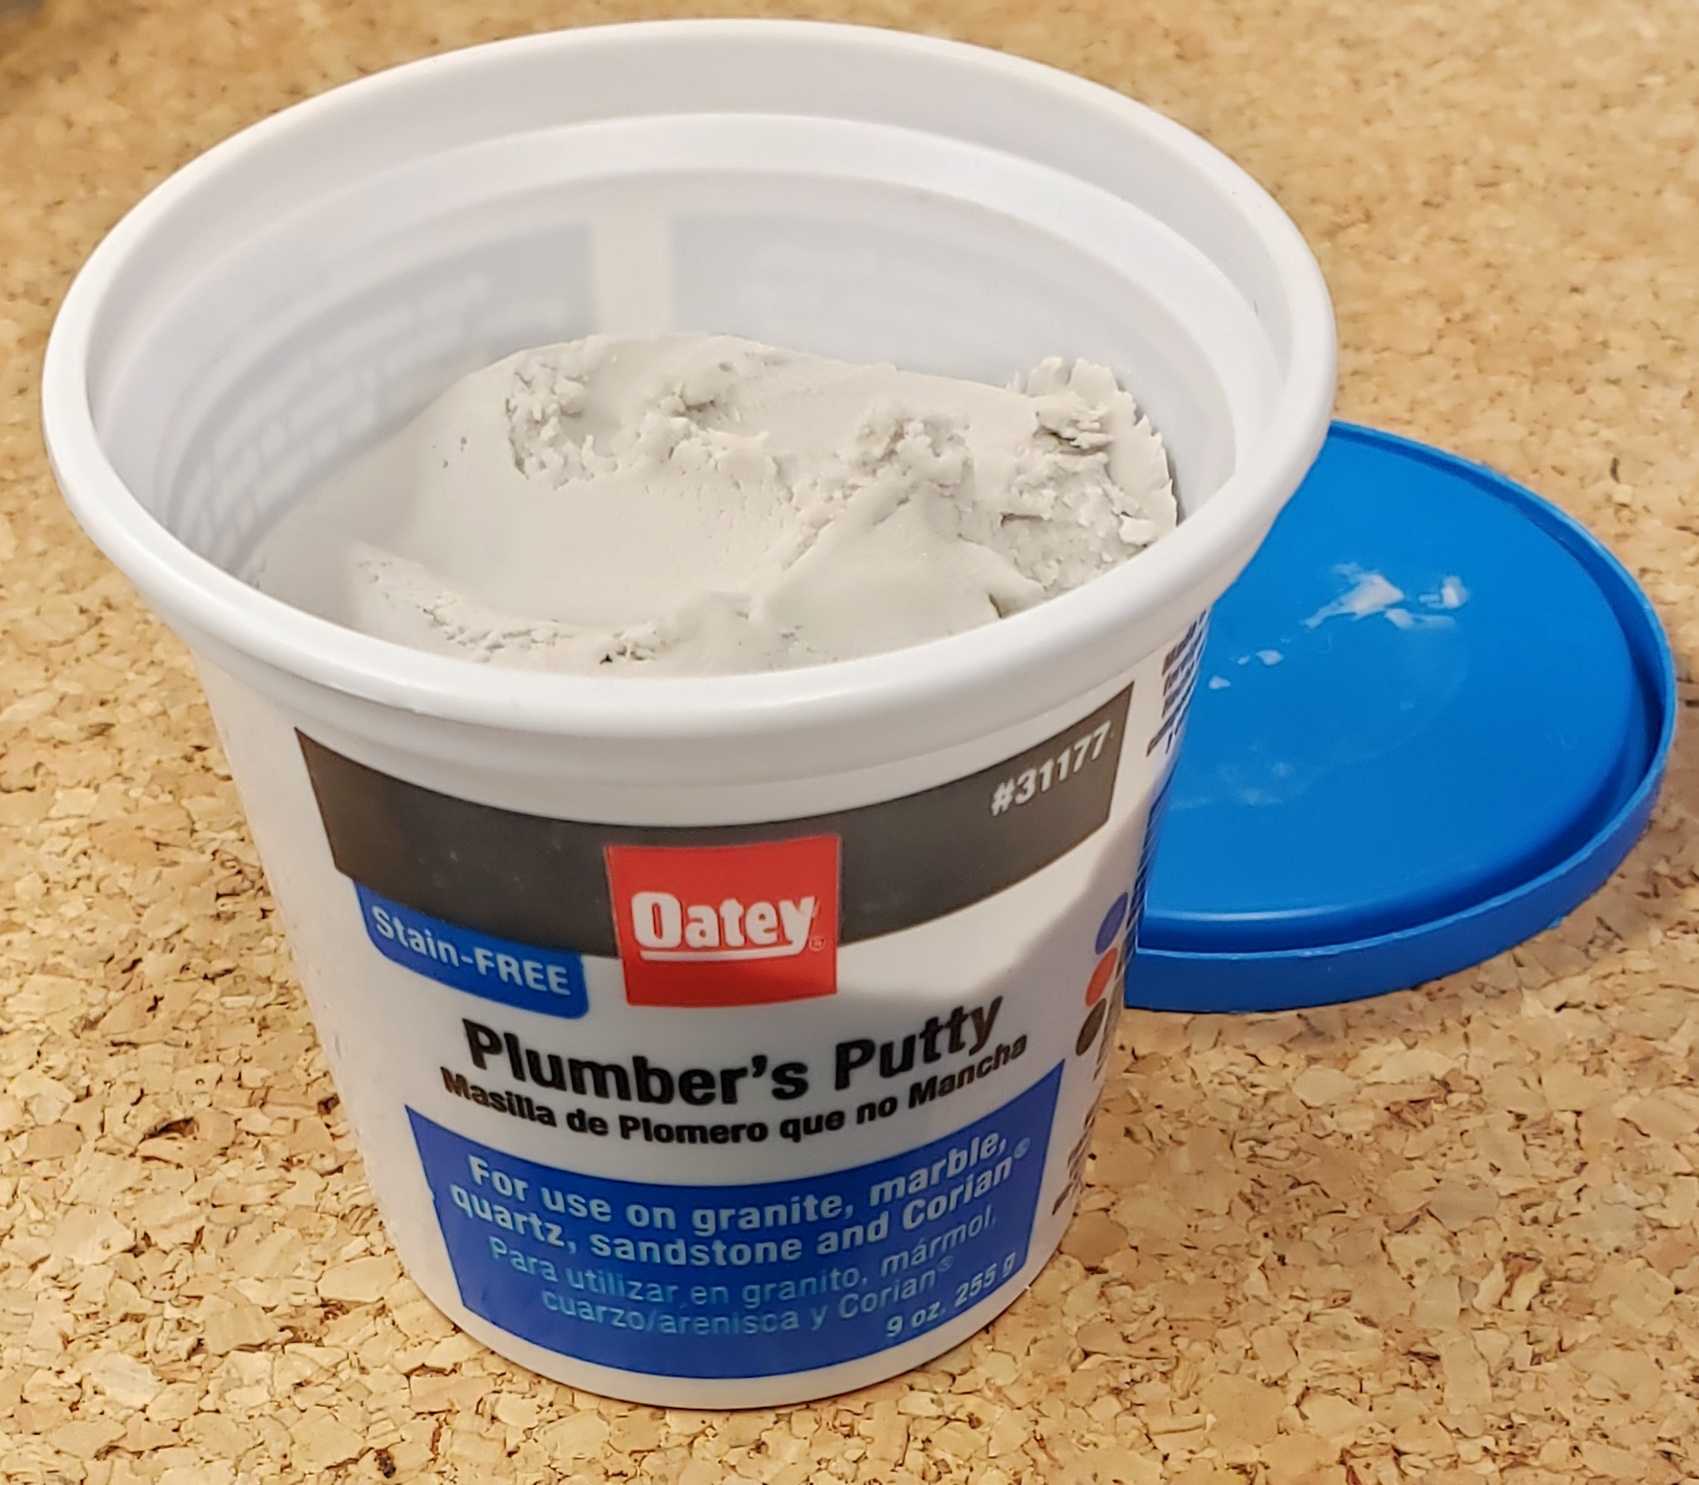
Plumbers Putty or alternately Silicone RTV to provide a moisture seal for the sensor to the conduit. This will replace the sealing function of the wire gland.
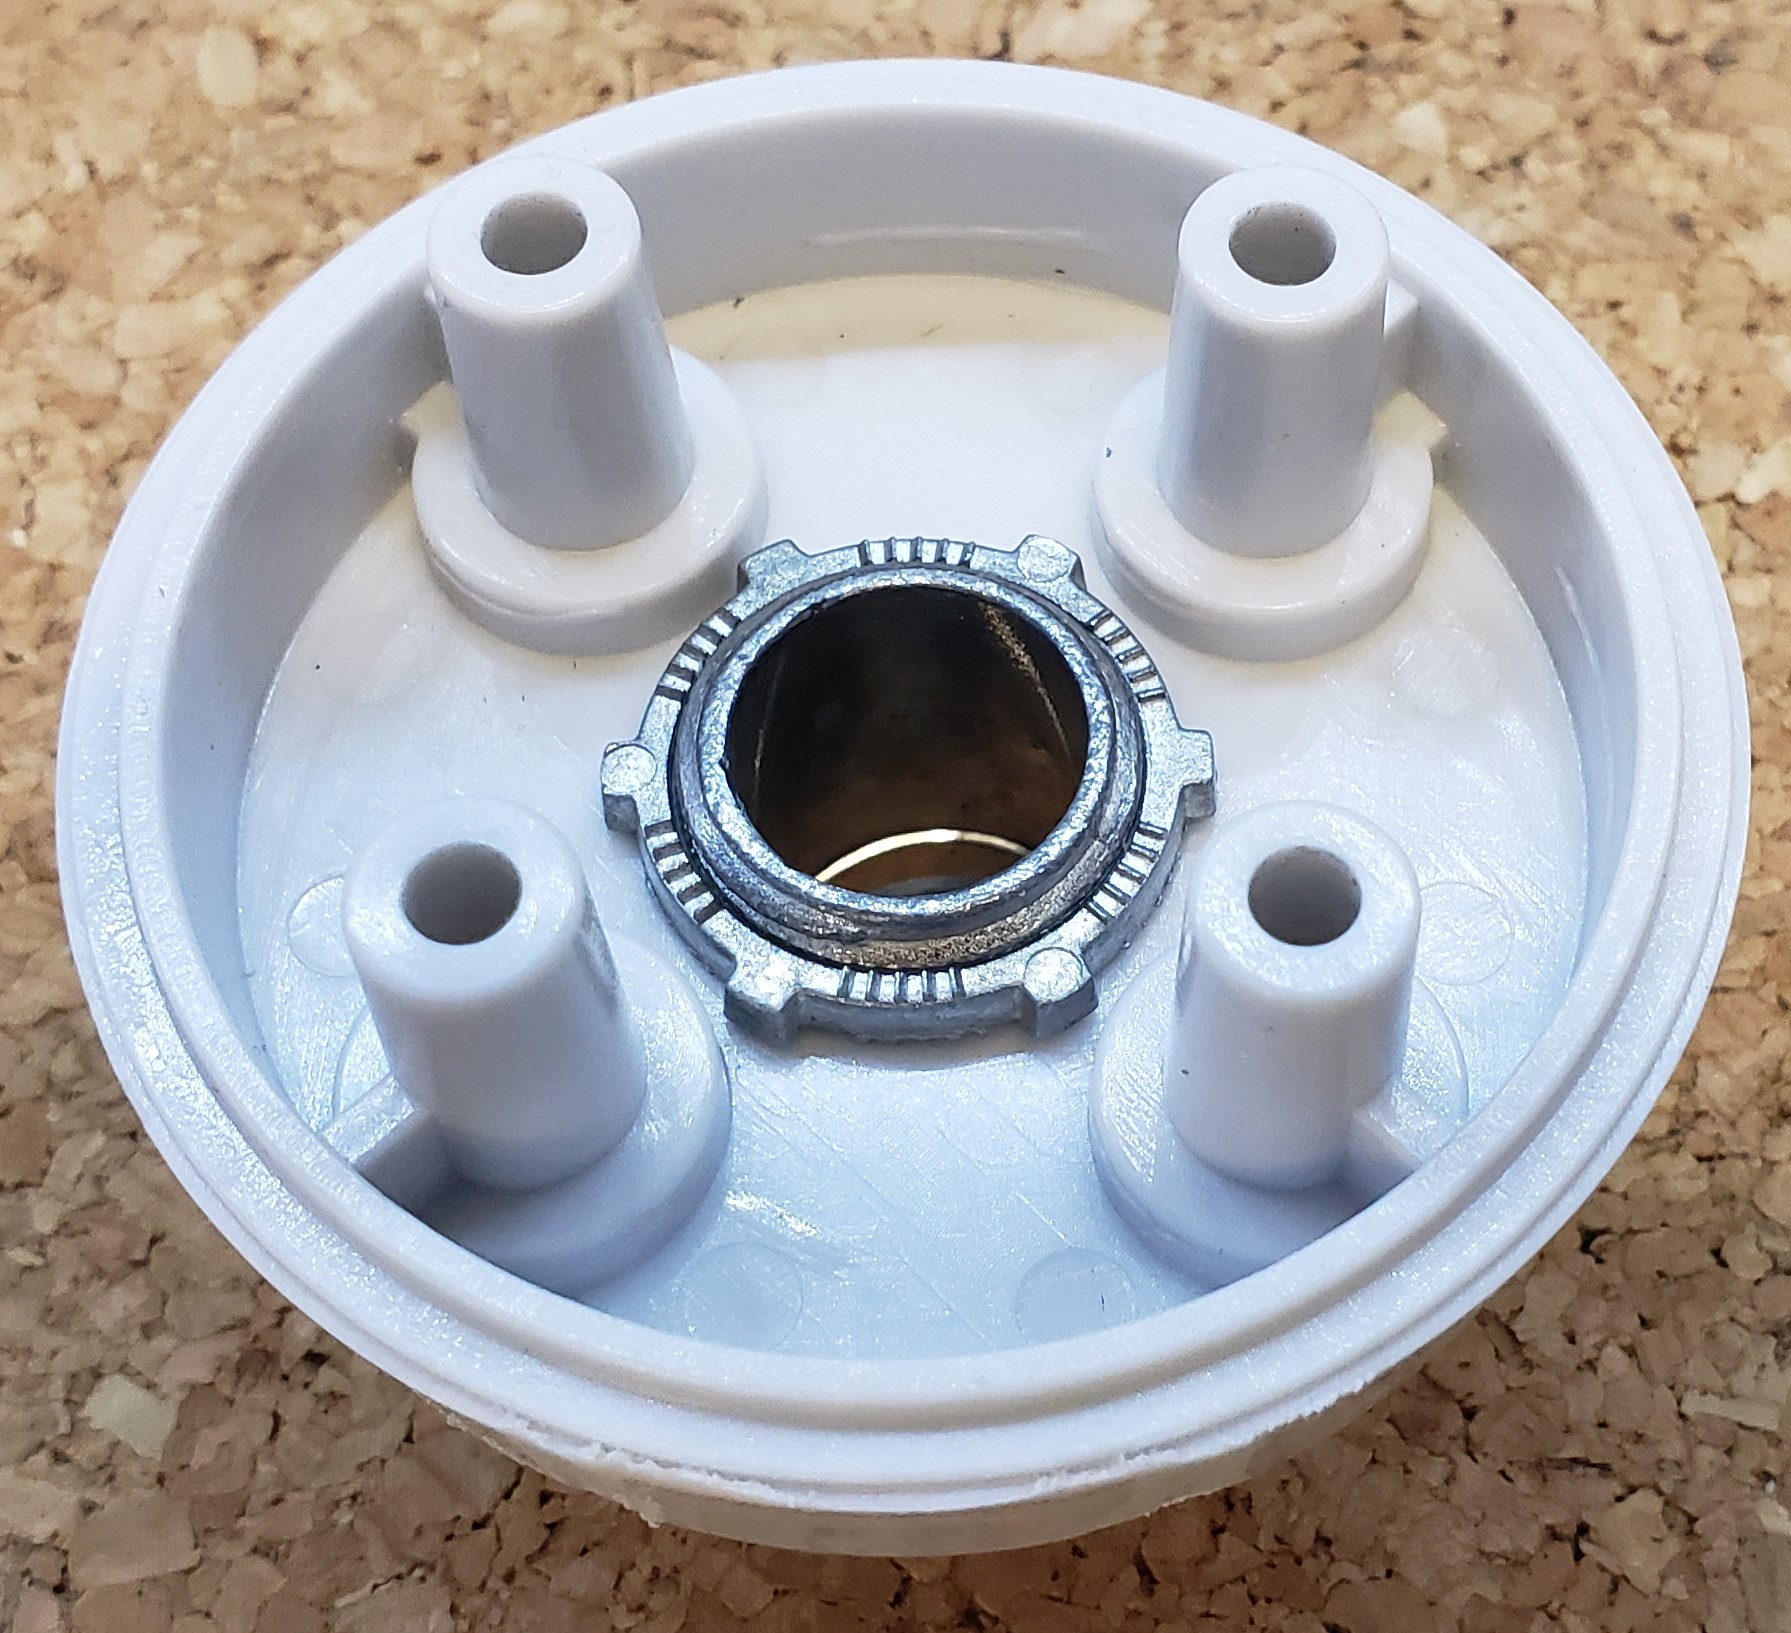
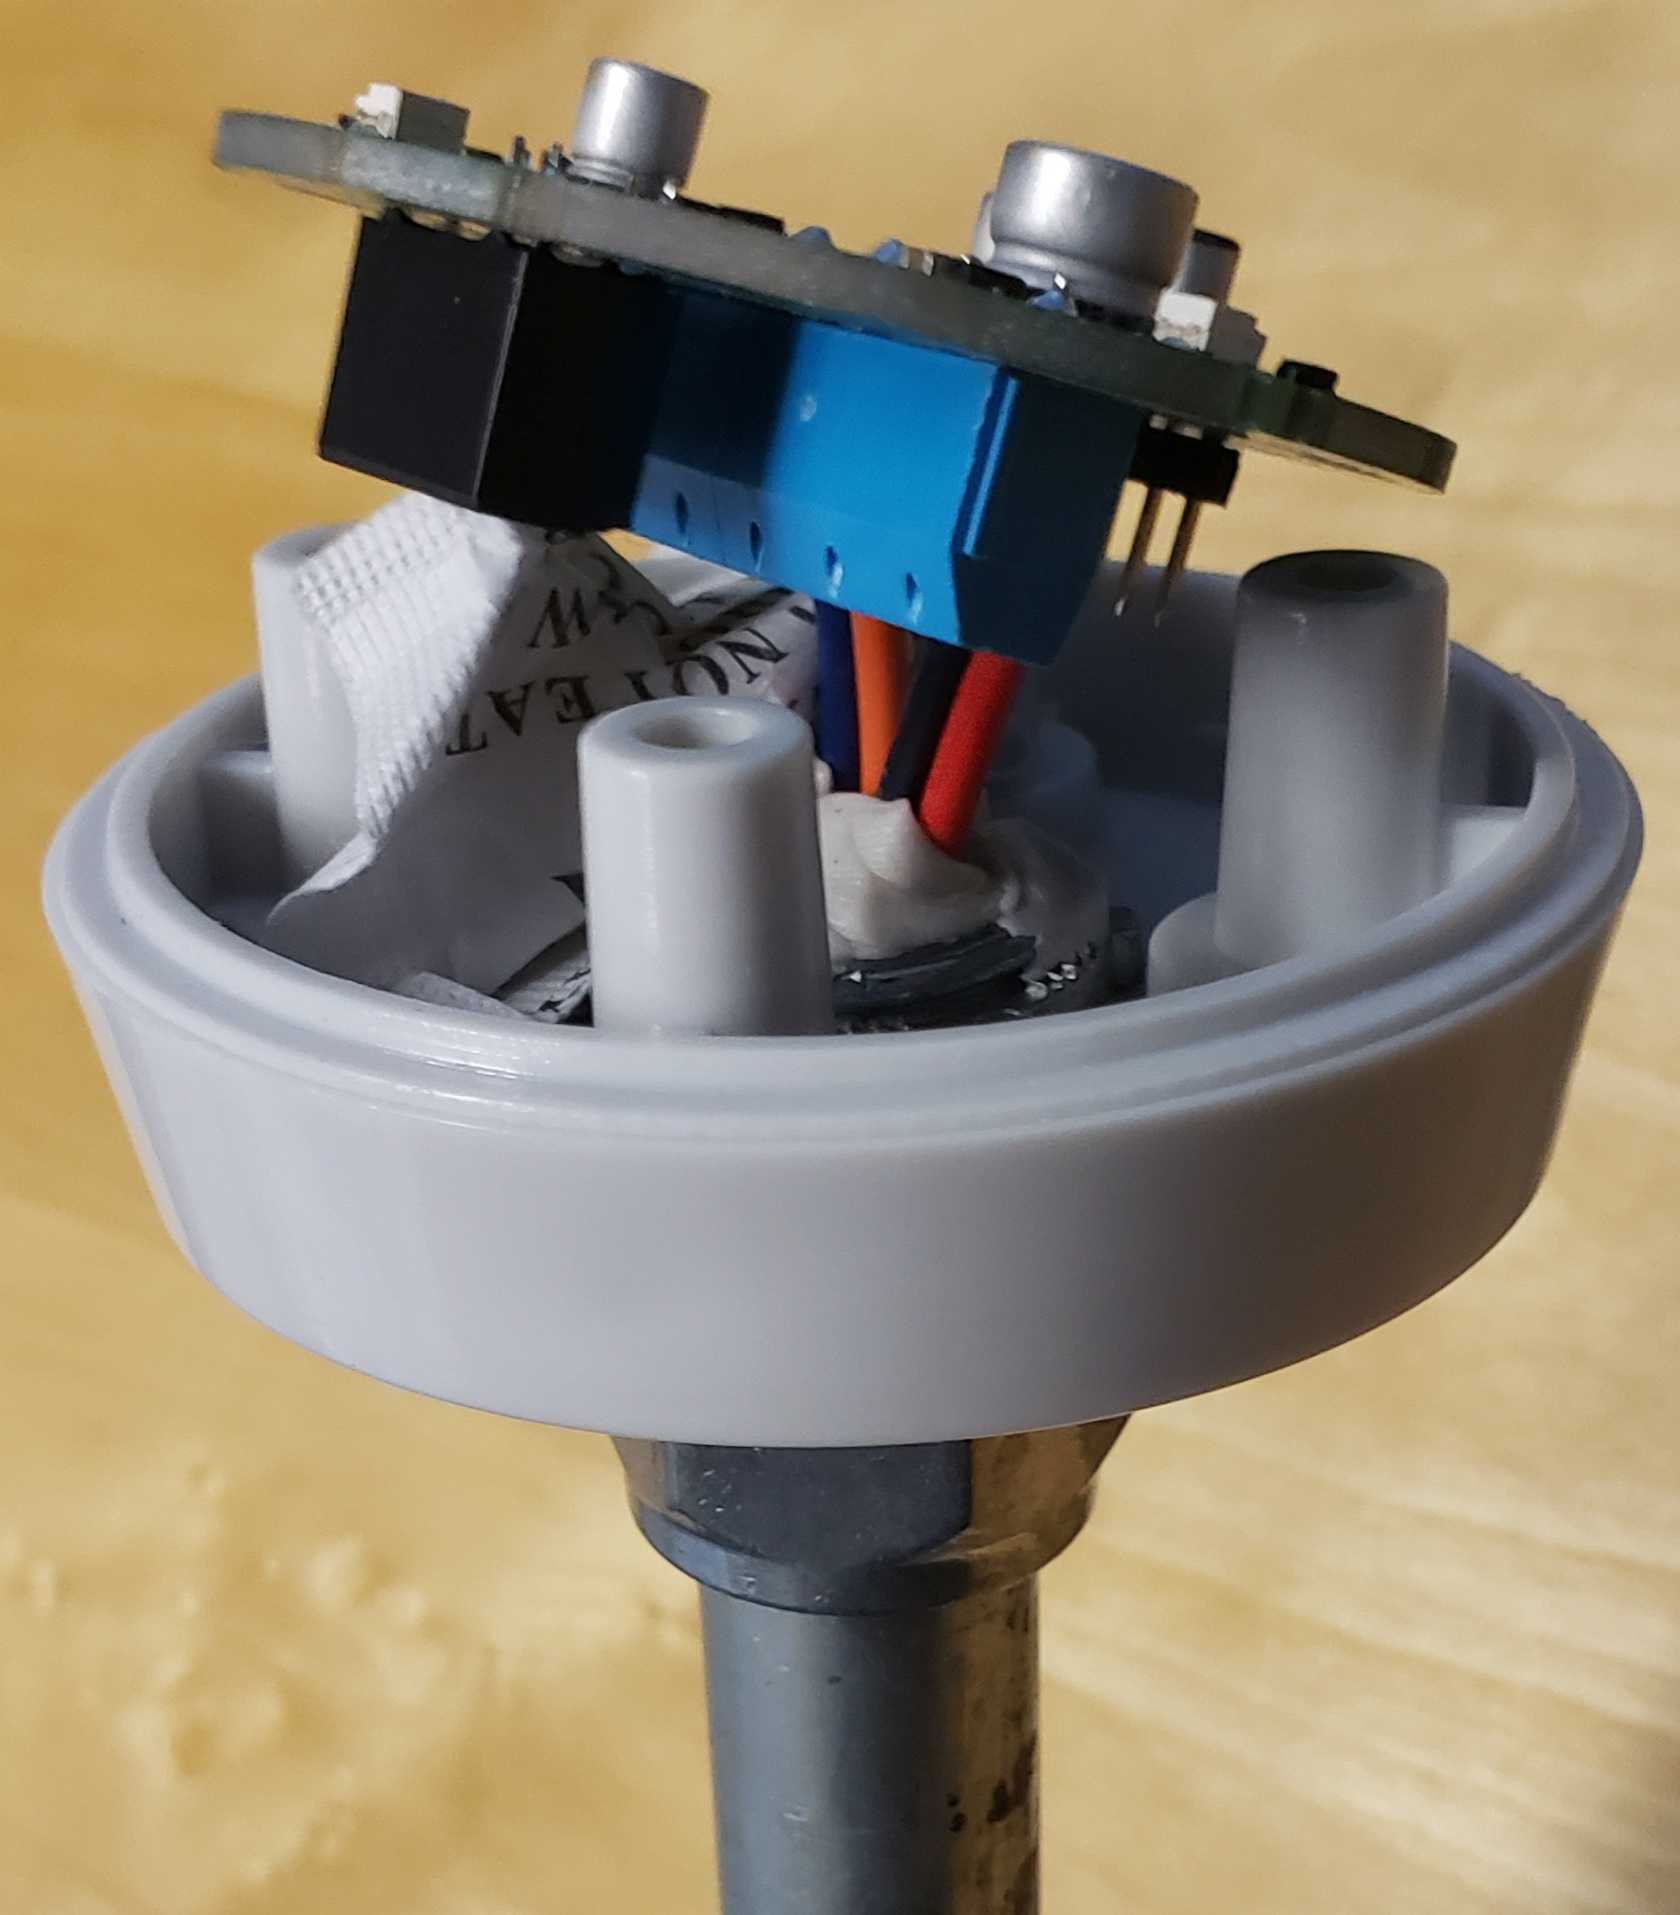
Remove the wire gland and bore out the center opening in the housing to approximately 13/16″ (21mm) to accommodate the EMT compression connector. Remove the nut on the 1/2″ EMT compression connector, insert the threaded end into the housing from underneath.
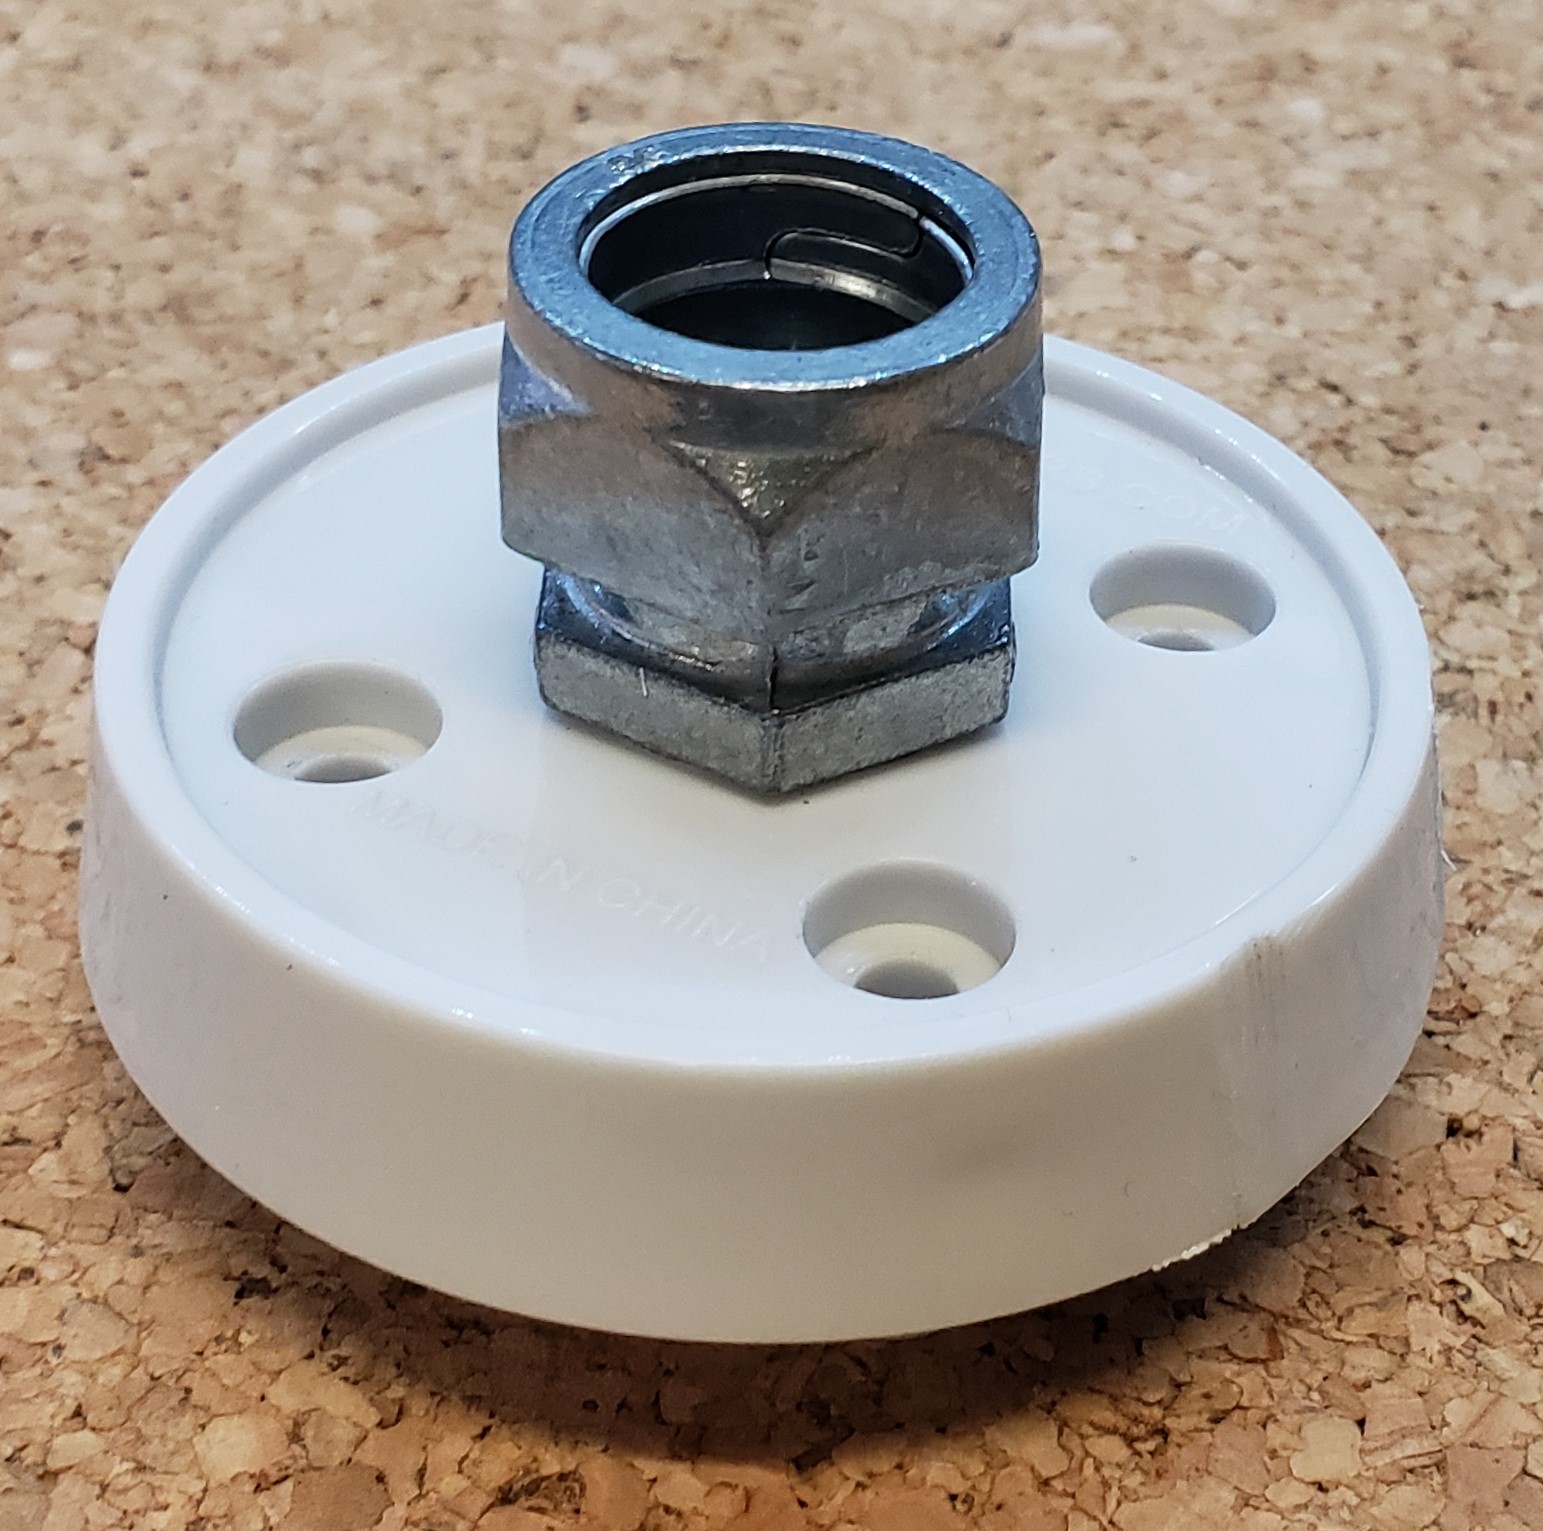
Secure the connector with the nut.
Cut the 1/2″ EMT conduit to the desired length and insert the conduit into the compression fitting.
Dress and route the RG power, ground and signal wires through the conduit and terminate to the RG board.
Utilize Plumbers Putty or alternately Silicone RTV where the wires pass into the EMT conduit to provide a moisture seal. This is to keep the volume under humidity control of the silica gel pack as small as practical. It is OK to leave the far end of the conduit open.
Place the silica gel pack next to the wiring and the plastic bosses.
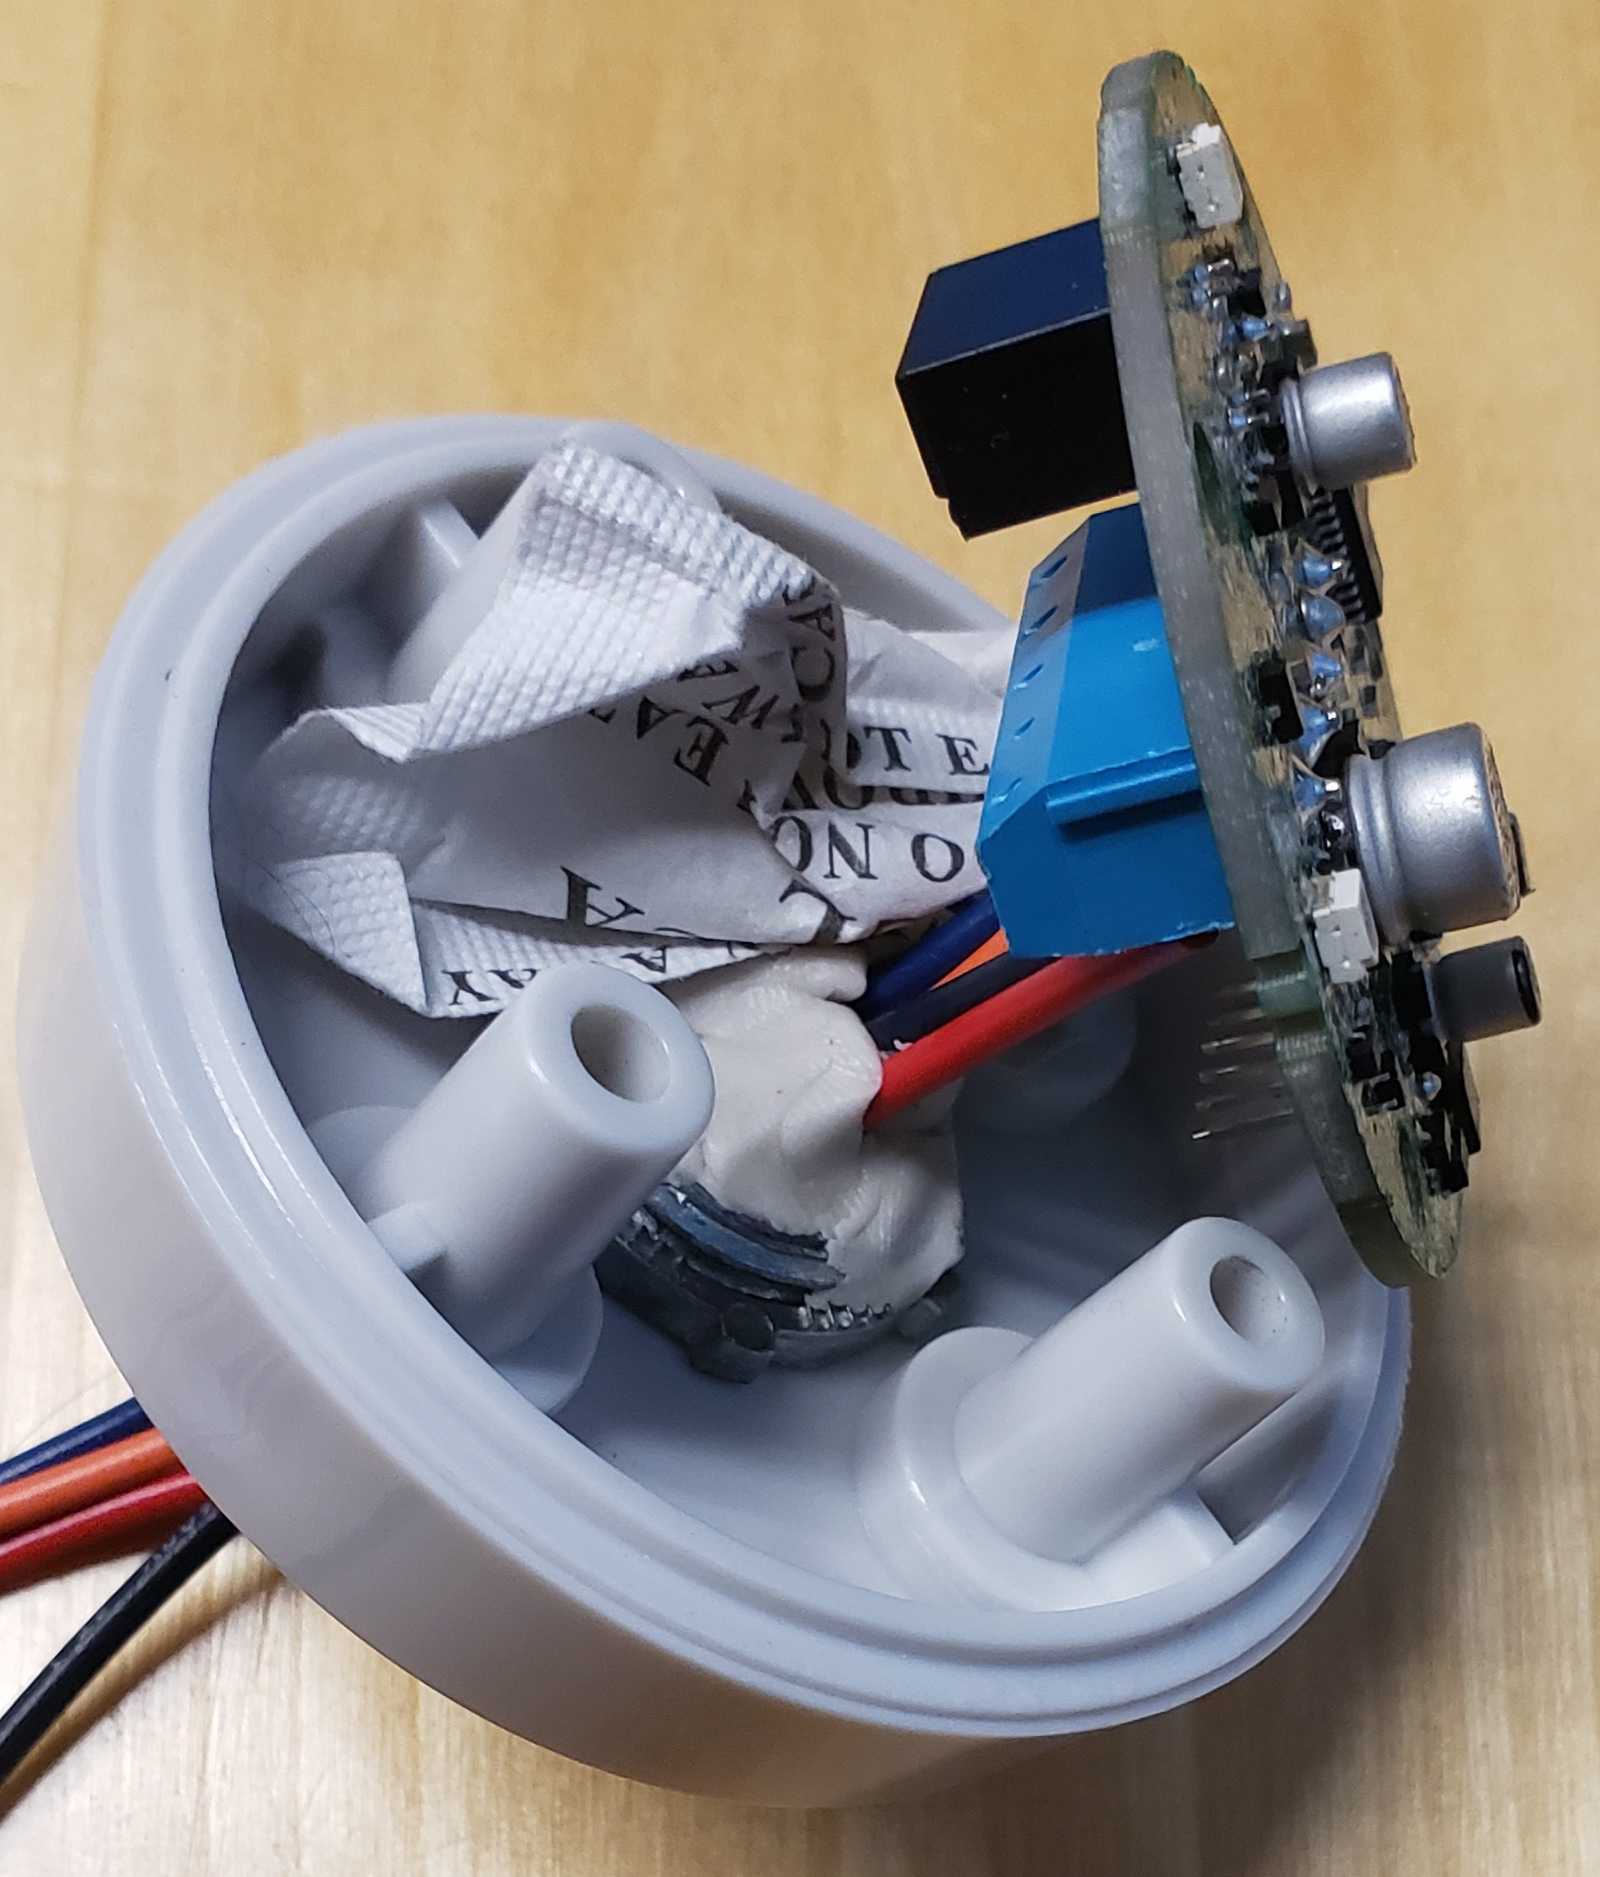
Place the board on the plastic bosses.
Place the shade on the board.
Insert the O-ring into the groove in the Lens and fit the Lens assembly to the housing, making sure the O-ring remains securely in the groove.
Secure with the stainless steel screws.
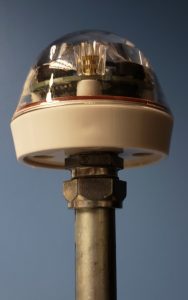
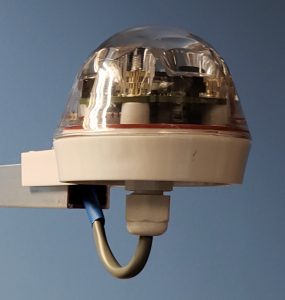
The completed assembly.

To mount the assembly into an existing antenna mast, the Shelley Aerial Mast Clamp (or equivalent) is a recommended way to go.

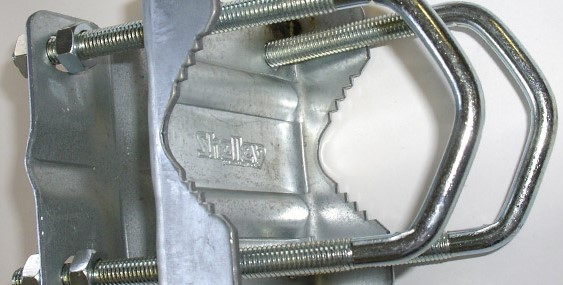
This clamp allows the smaller diameter assembly to be attached to the larger diameter antenna mast as well as extending the sensor to the highest location on the mast.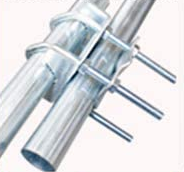
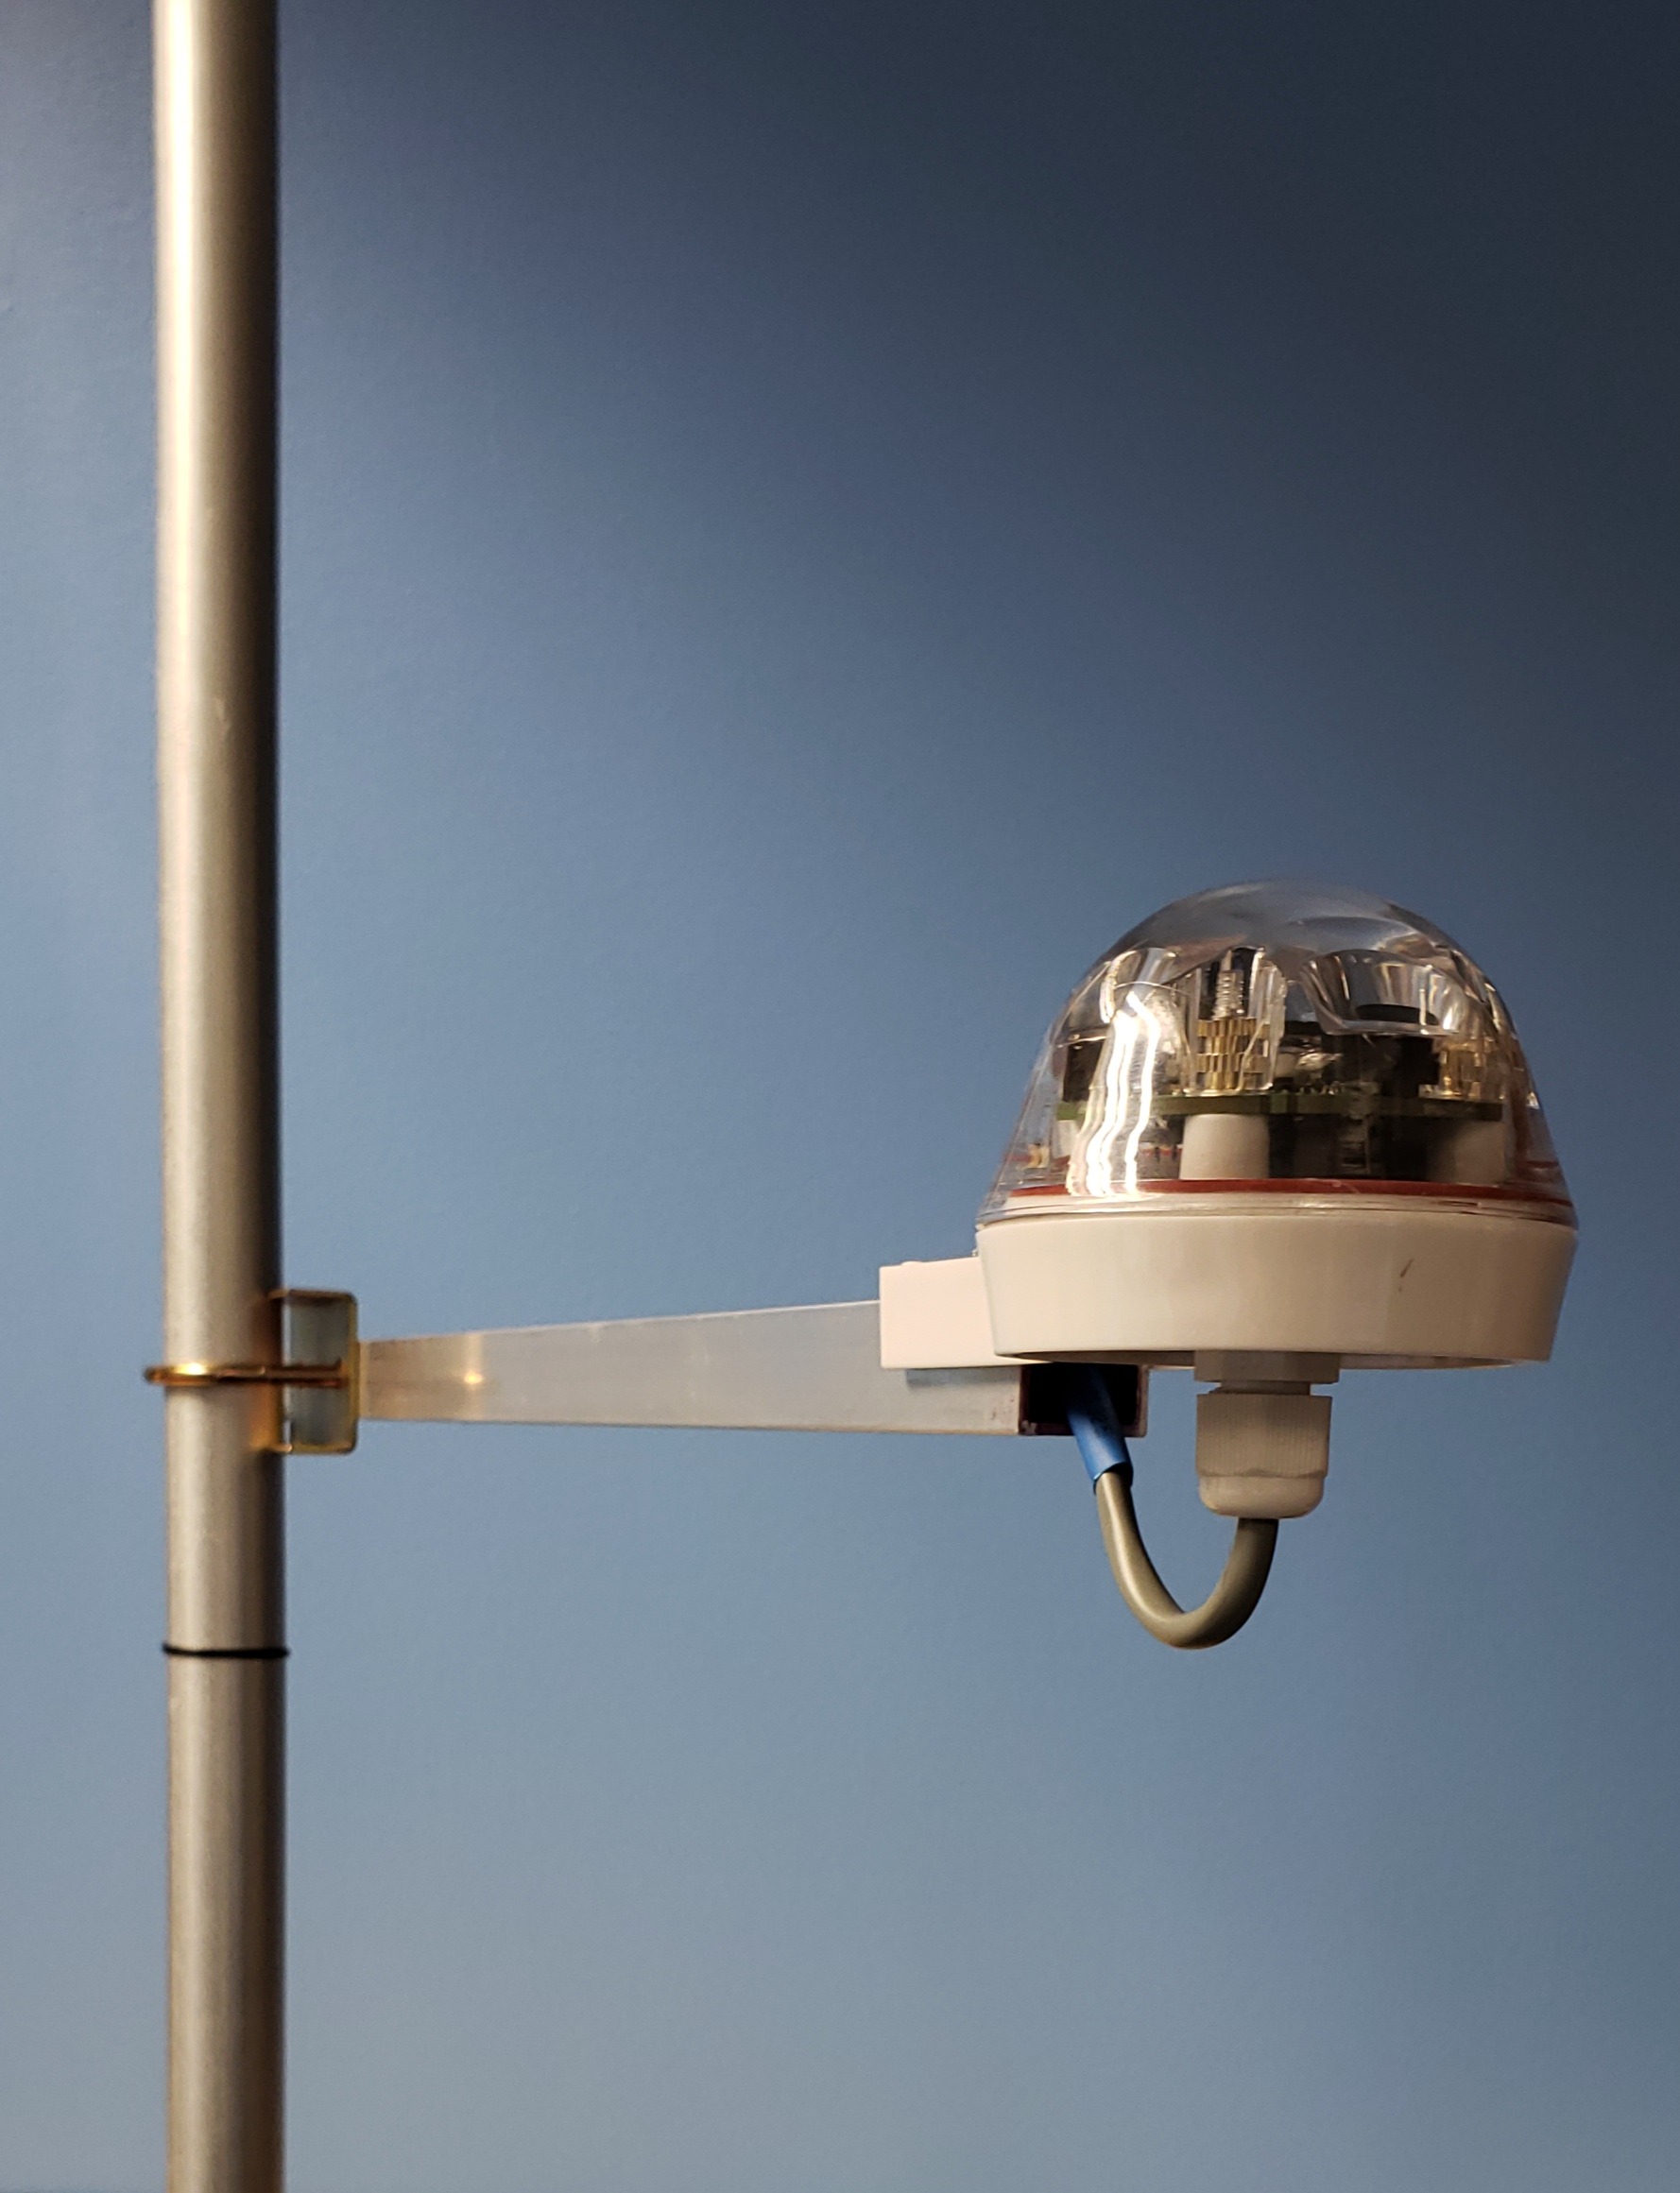
Horizontal Mount
Thanks to Tony Glynn of Sydney, Australia we have this STL file of his mount to attach the RG to a standard 1″ (25mm) antenna mast.

For close mounts to an antenna mast, this is a nice way to go. For extended mounts, see the following.
Suggested equipment:
Shelley Aerial Mast Clamp or equivalent, such as this Antenna Roof Mount Kit.
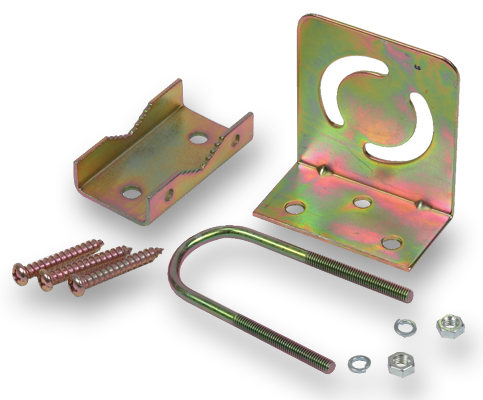
Antenna Mount Kit
3/4″ x 3′ Aluminum Square Tubing (or equivalent)
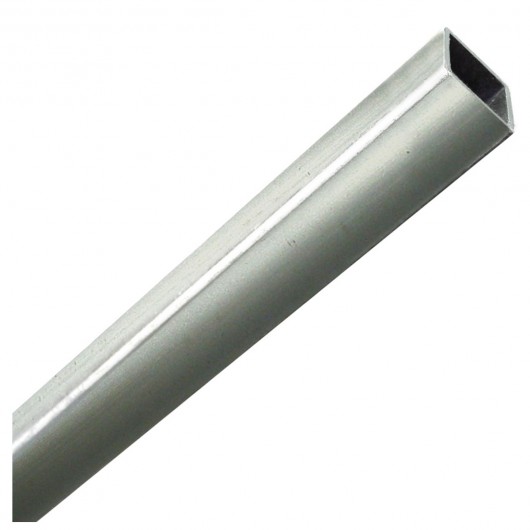
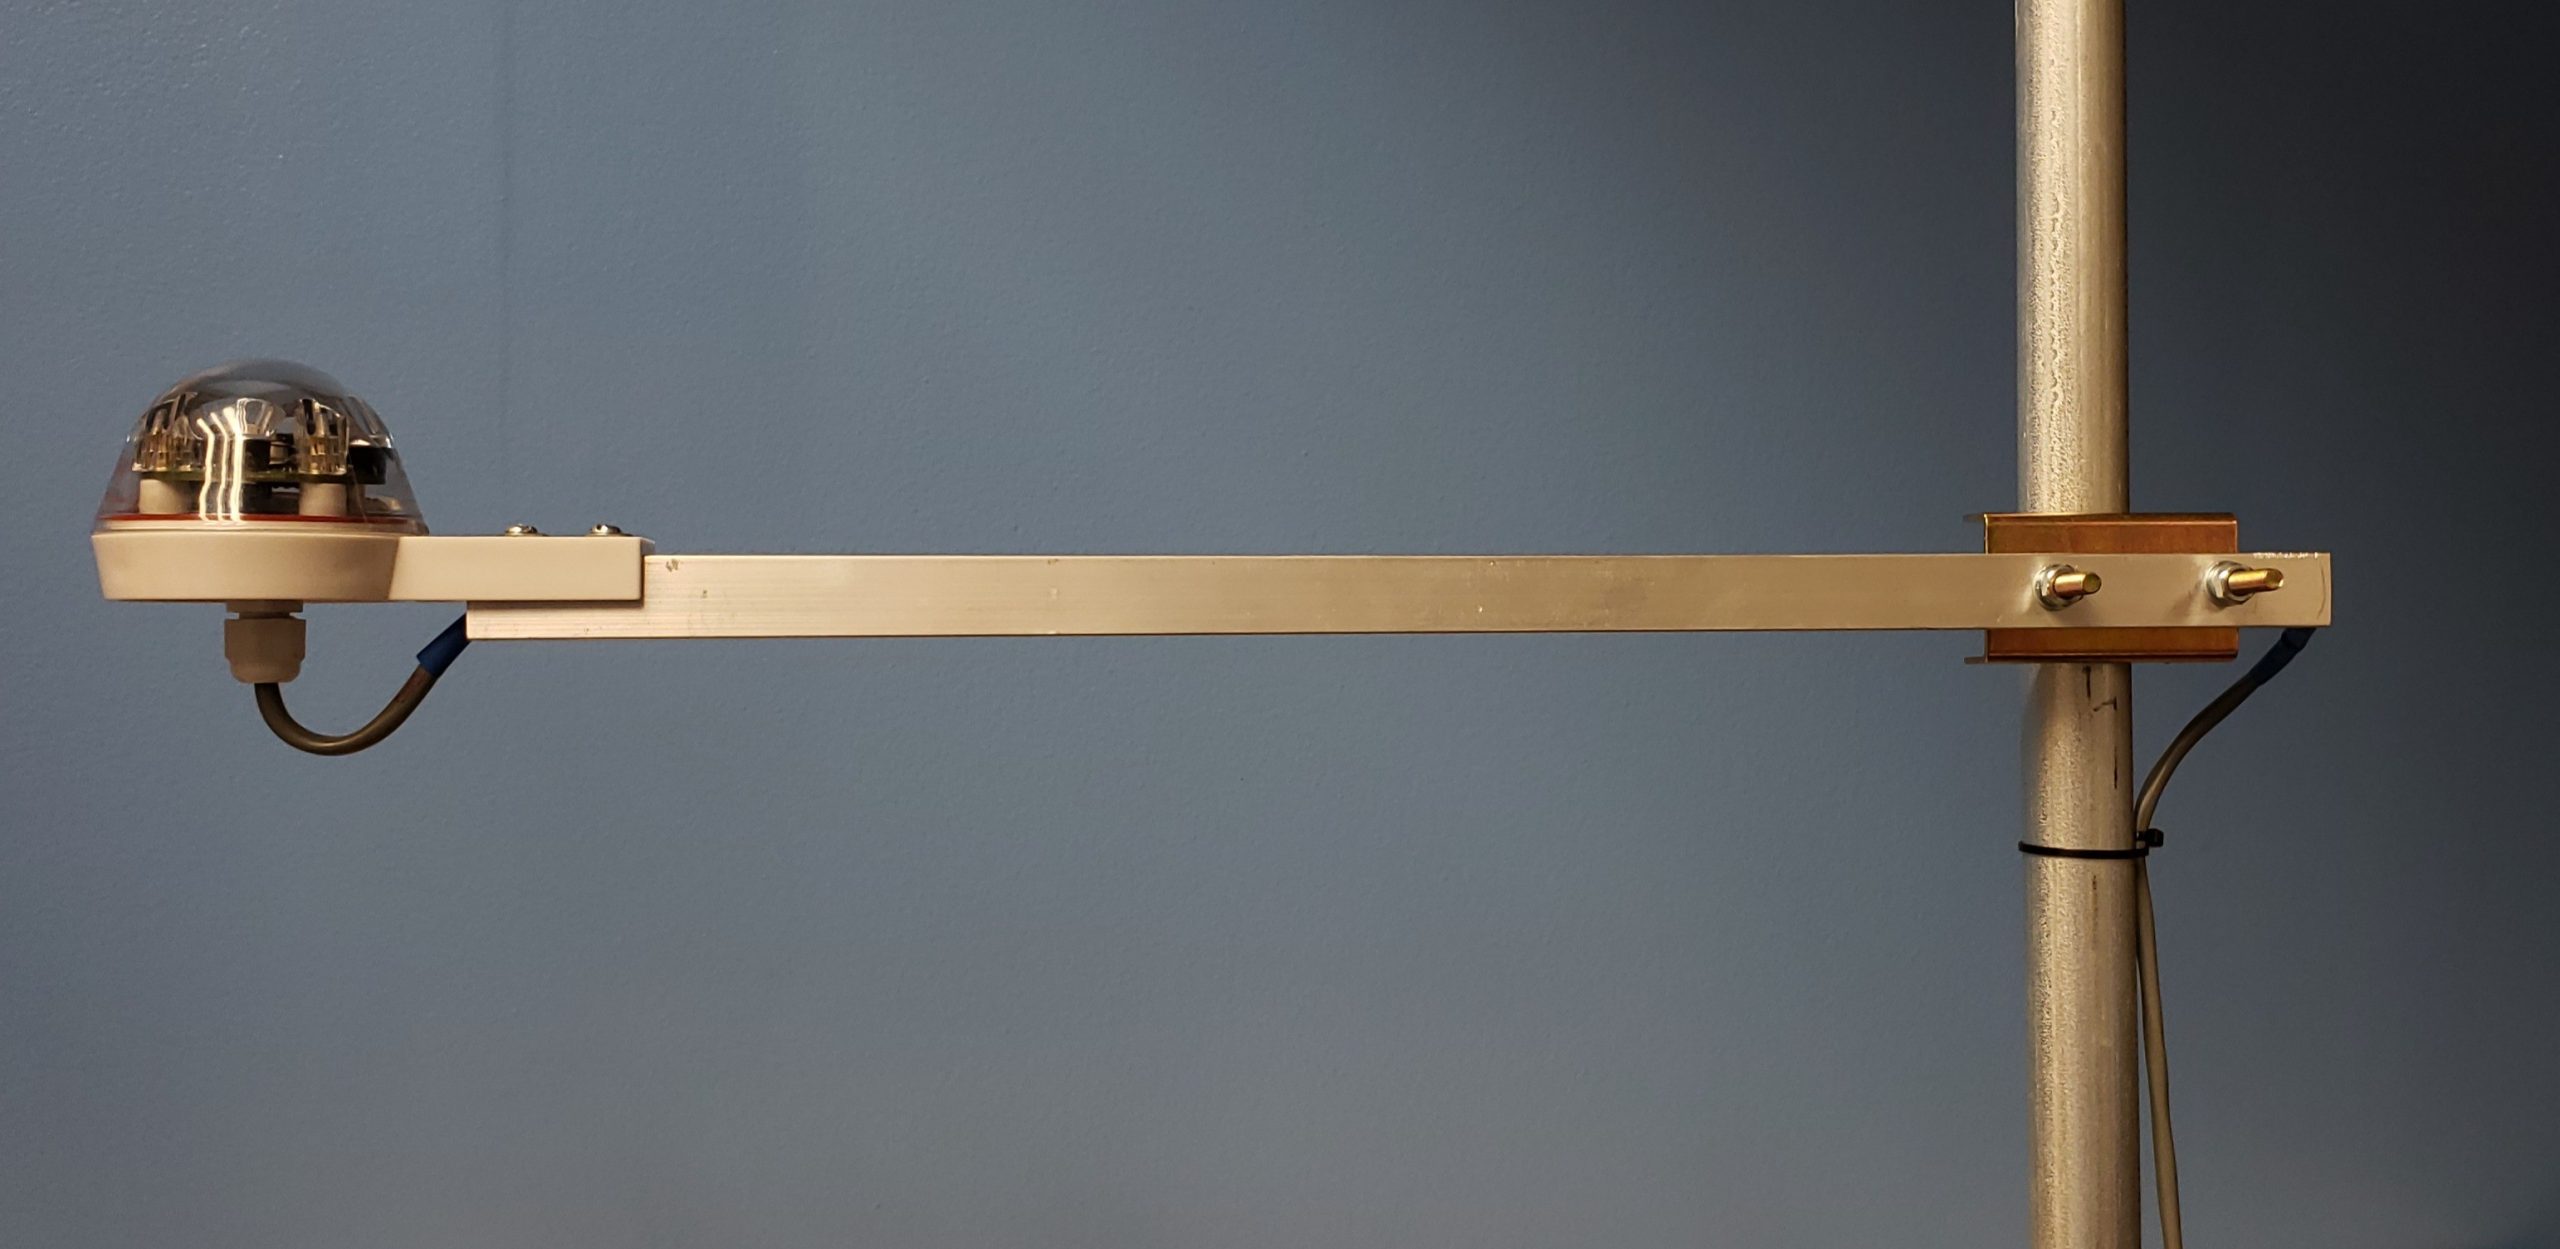
Using 3/4″ x 3′ Aluminum Square Tubing (or equivalent) for the horizontal mast, drill holes into the tubing to mount the RG Housing. Attach screws to lock the housing to the tubing.
Drill holes into the tubing to receive the U bolt from the roof mount antenna kit.
Attach the U bolt to the Antenna Mast, the back clamp to the U Bolt, the tubing to the U bolt and then the washers and nuts to the U bolt. Tighten the nuts to secure the assembly.

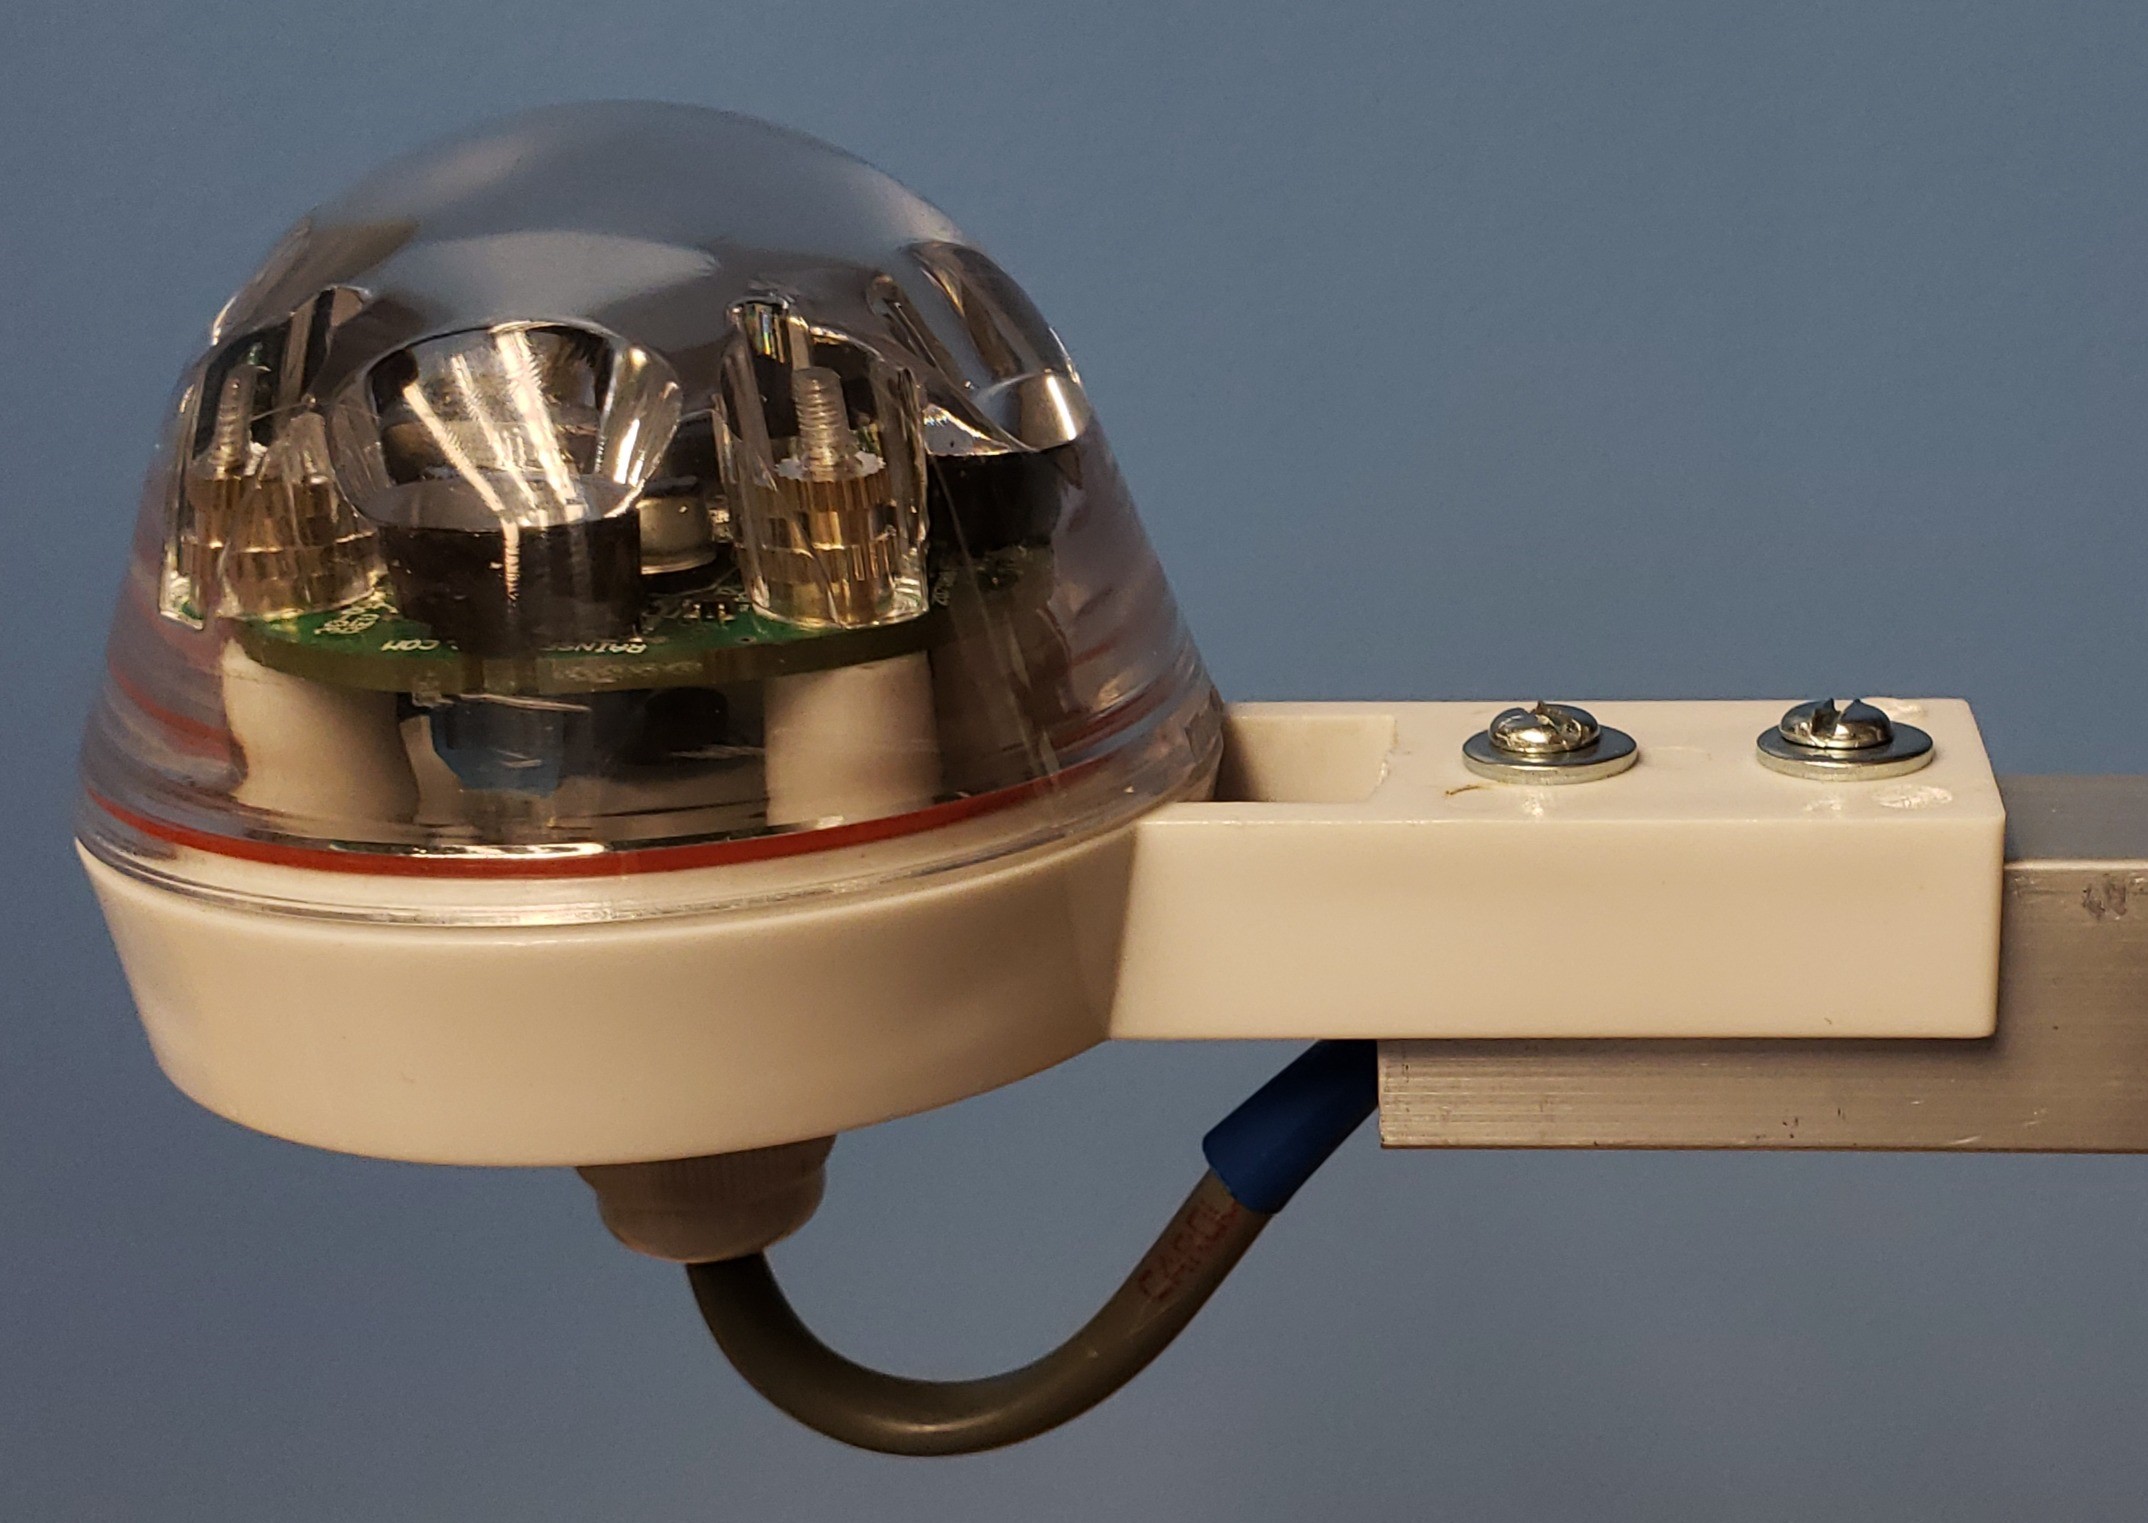
Terminate the wires to the RG board as described above. Assemble the RG unit as described above. Insulate and route the wires through the tube and down the mast.
The completed assembly.

Wall / Roof Mount
A wall or roof mount is a variant of the above mounts.
Suggested equipment:
J tube antenna mount, such as the Winegard DS-3000 or equivalent

Mount the base to the wall or roof with the appropriate hardware. Orient the pole to either a vertical position or horizontal position as needed.
Attach the RG housing using the guidance above.